Engine Repair Notes
Day 0
- Since all engine repairs will be done concurrently so all repair notes will be bundled.
- Research indicated I was missing a 5mm allen ratchet bit as well as RTV and degreaser. All purchased from advanced auto
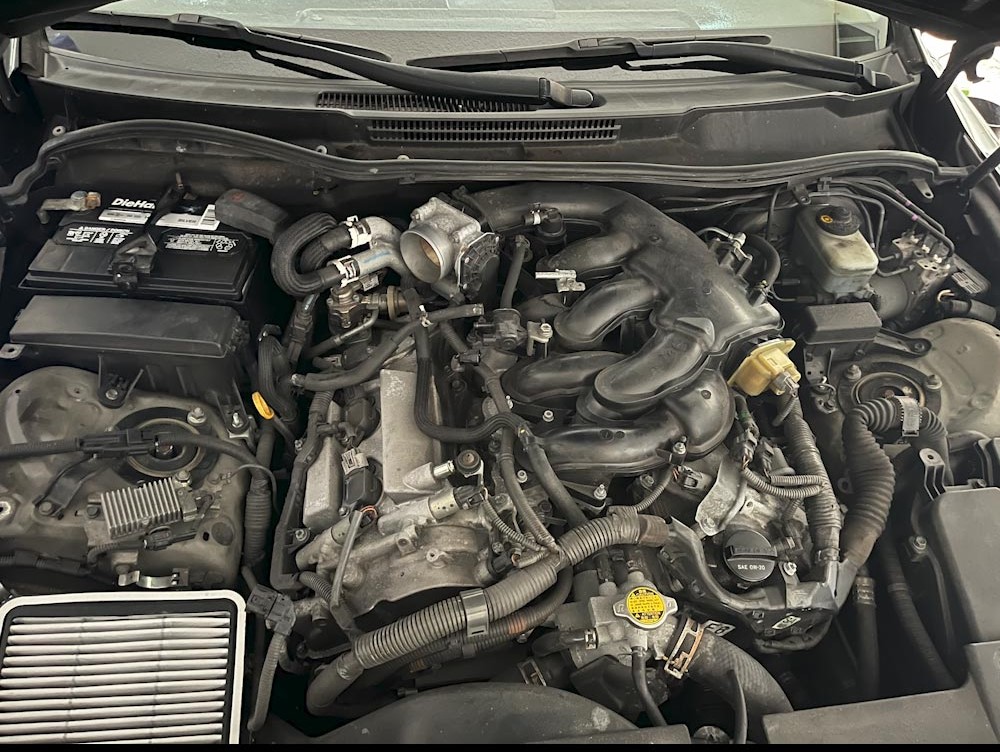
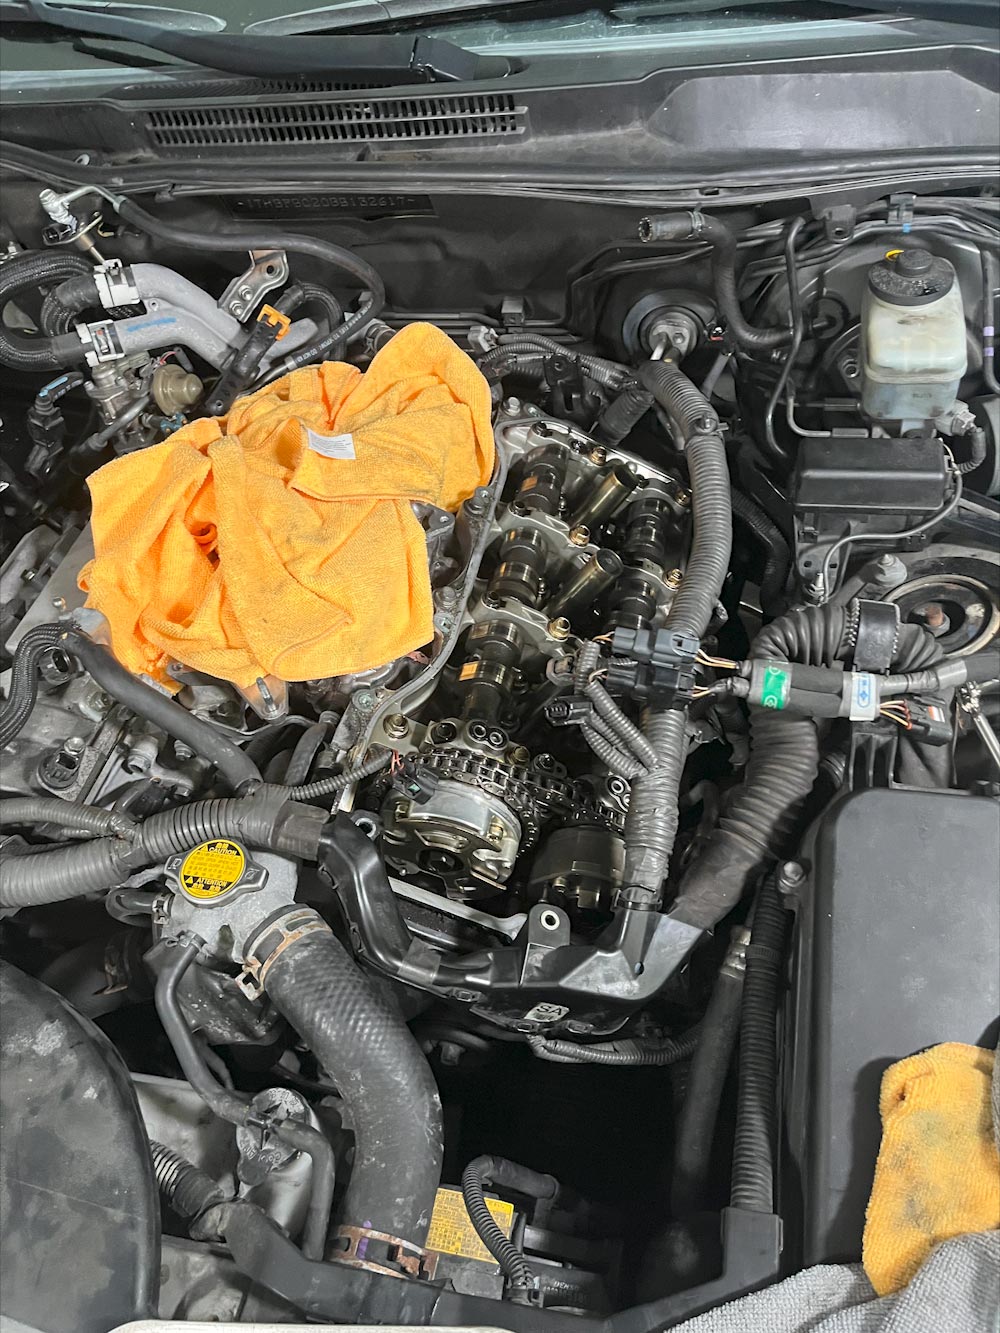
- Engine lightly cleaned and dusted
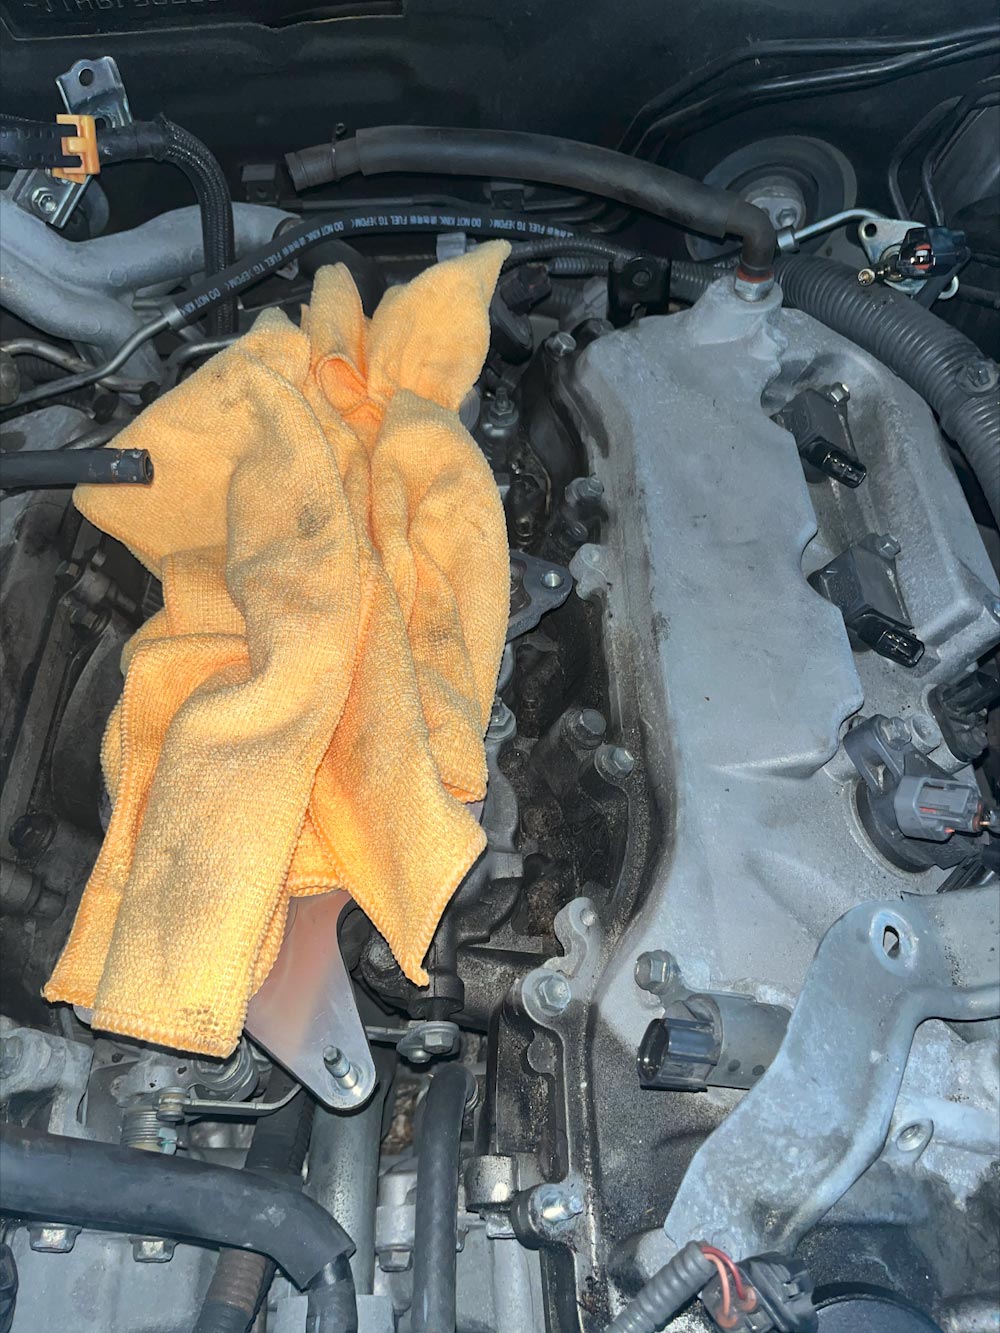
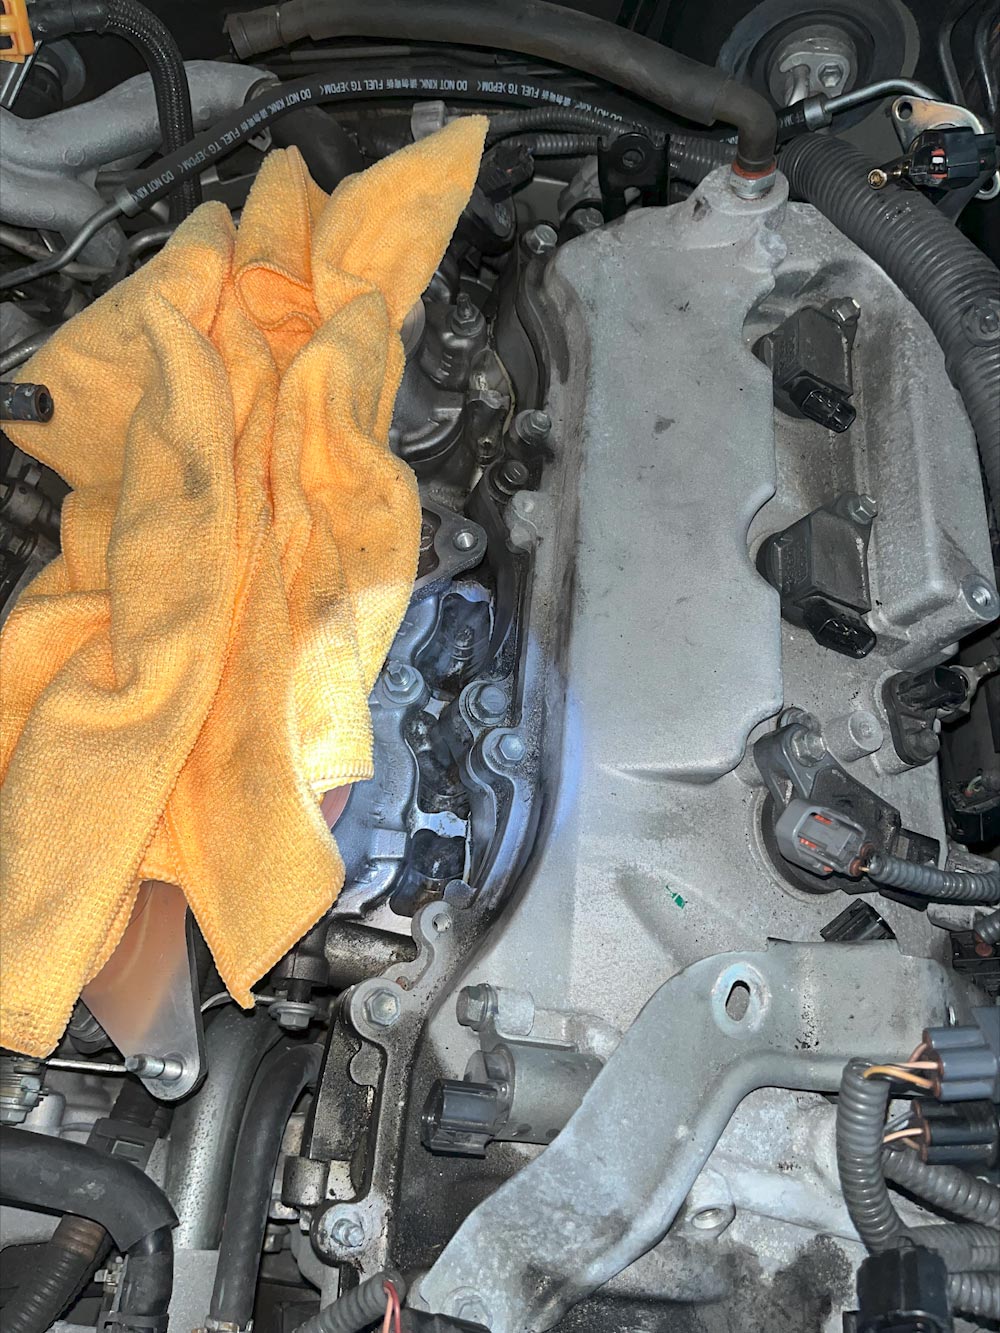
- More leaks in valve cover gasket identified.
Oil Leak on LT Valve Cover

Oil Leak on RT Valve Cover
Oil Leak on back of RT Valve Cover
Oil Leak on back of LT Valve Cover
Day 1
- Air box and air intake pipe removed
- Various wire harness connectors disconnected and left and right bank. A few of the plastic clips were brittle and broke, may consider replace.
- Remove connection to coils on passenger bank.
- Disconnected plastic wire harness mount to passenger bank.
- Disconnected throttle position sensor
- Issue came up where throttle position sensor cable was hooked to intake manifold using a zip tie piece. Was able to unhook using a small flathead screwdriver.
- Disconnected coolant hose to throttle body.
- Issue came up where I did not have the correct pliers to detach clamp. Found better pliers in a fishing toolbox.
- Issue came up where hose was stuck to throttle body. Loosened by twisting hose then pulling very hard with throttle body as leverage.
- Throttle body bolts removed and subsequently re tightened due to issue with an additional hose being attached to throttle body on the firewall side.
Day 2 Agenda
- Take out hose attached to back of throttle body
- Remove throttle body
- Remove intake manifold and store nuts appropriately.
- Remove additional wire harness connections to drivers bank
- Fill in holes for intake? Not sure if I do this after I remove more.
- Begin removing drivers valve cover.
Day 2
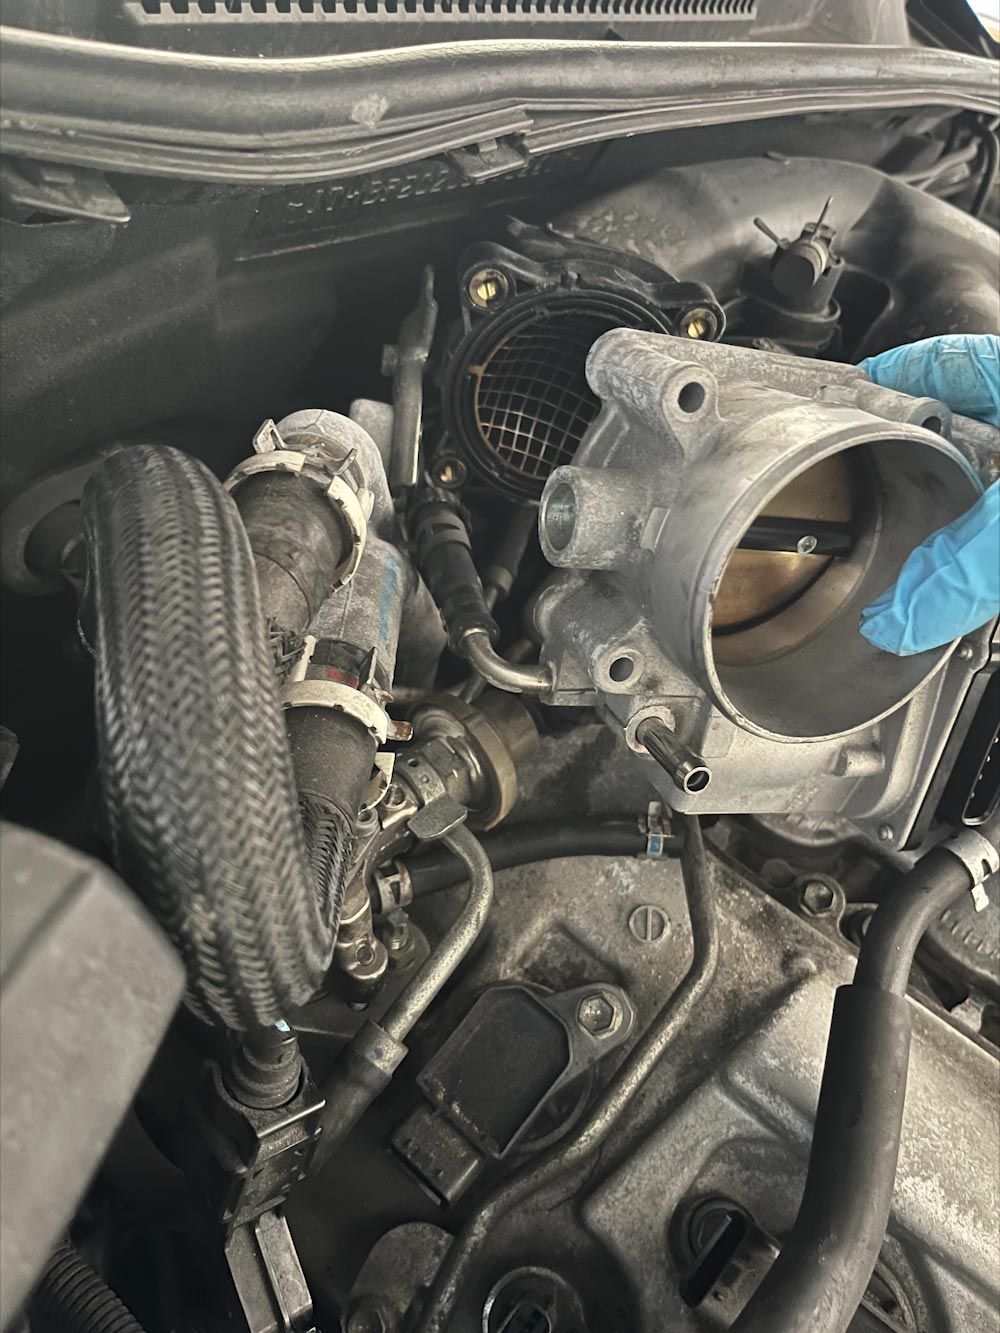
- Fuel? hose disconnected from throttle body
- Throttle body removed. Maybe I should clean it?
- All wire harness connections removed.
- Many clips broke, may consider purchasing new ones.
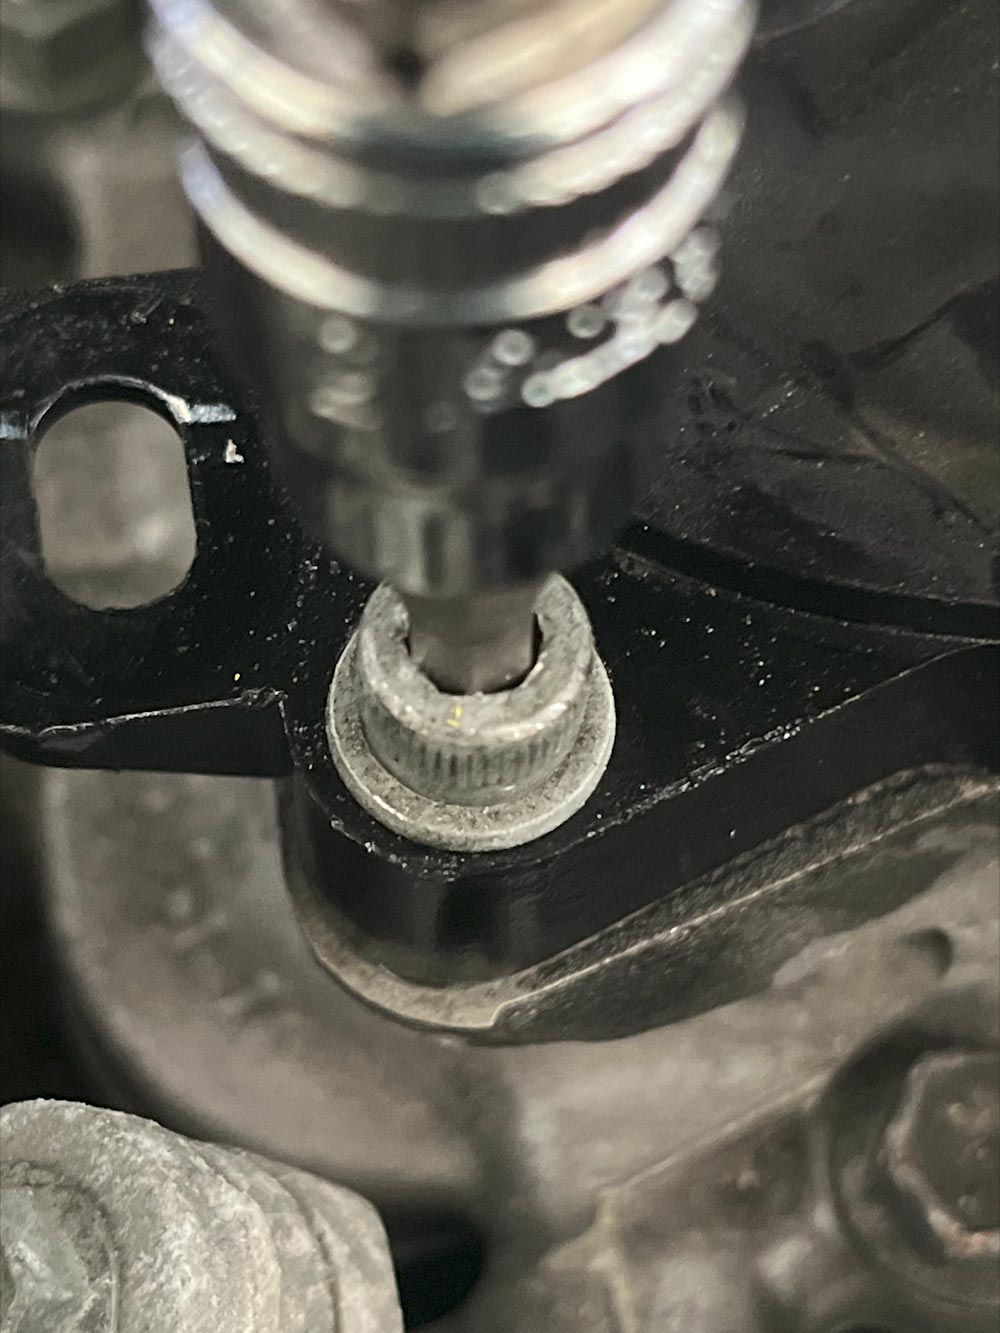
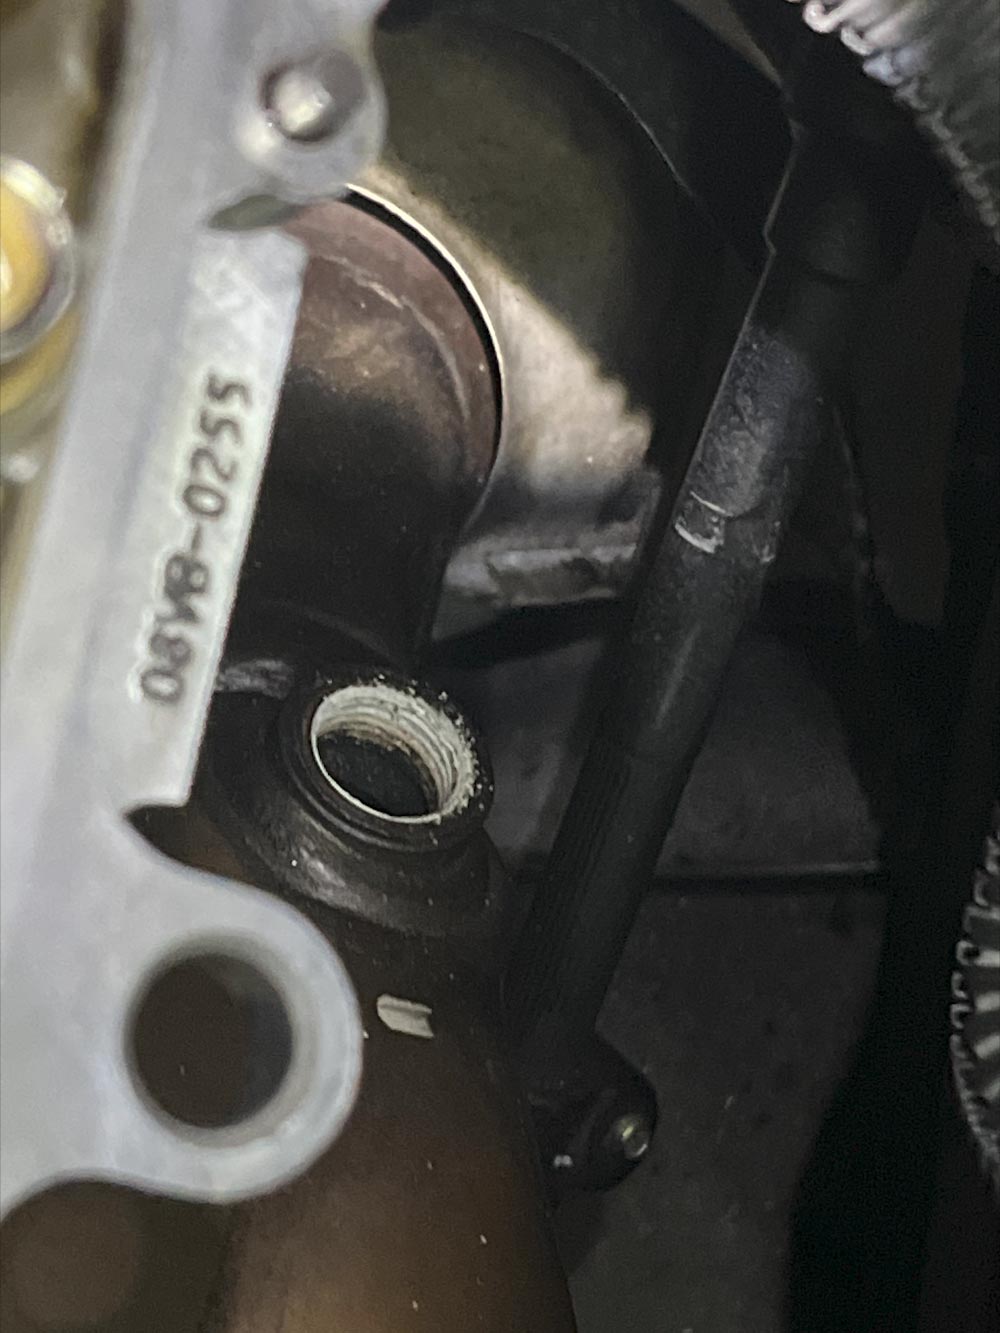
- Issue came, removal of intake manifold delayed because of Allen bolts for intake manifold started stripping. There were 5? in total and 2 of them began stripping. One of the two seriously stripped. Problem solved by pounding bit into hole to shape metal back into place (or back around the bit unnaturally) and bolt was removed but needs to be replaced.
- Apparently there are newer model bolts that are better but the same and they are about $1.5 each so I will probably order those from Lexus directly.
- All intake manifold bolts/connections believed to be removed, intake manifold was peeked open.
- Issue came up where car battery died again.
- Unknown if this is due to some energy drain that happens when I am working on the car. Ex. the mirror lights that turn on when I am in proximity to vehicle.
- Other option is that the alternator is bad as a result of oil leaking on it to whoever over filled the oil cap.
- Will remove alternator, get it tested and clean it. If fails test then replace
Day 3 Agenda
- Order new 5mm Allen bolts for intake manifold.
- Remove alternator, get it tested.
- Confirm removal of intake manifold and see what lies within.
Day 3
- Primary operation to remove alternator, bolts identified, one bolt removed.
- Realization that my car was not producing electricity because my battery was disconnected.
- Realization that there was a final Allen bolt that I missed holding the intake manifold in place.
- Took a trip to Lexus parts dealership where unfortunately the bolts were out of stock. (shocker) To be ordered online and replaced at a later day.
- Lexus forums recommended to not use OEM bolts but a newer model bolts.
Day 4 Agenda
- Recruit additional manpower
- Remove intake manifold
- Remove fuel pressure sensor? on the right back bank.
- Remove valve cover gaskets
- Clean valve cover gaskets
- Clean block below valve cover gasket
- Clean any RTV or stuck seals on valve cover or other contact surface on block
- Remove spark plug seals from valve cover
- Replace spark plugs
- Clean alternator and front of engine
- Replace O2 sensor on passenger side using rented tool
Day 4
- Additional manpower was not available.
- Intake manifold removed, additional line and connection on the back of the manifold that I was not aware of initially.
- Banjo bolts removed along with the accompanying 2 washers and oil filter. These go to the oil cooler I think. Pretty tough bolts with little space.
- Problem came up where I may need hex sockets to remove fuel pressure regulator on right side of engine to access valve cover gasket.
- Most valve cover bolts loosened.
- Coil bolts loosened.
- Mistake where x5 bolts intake manifold bolts ordered instead of x6. An additional one was ordered OEM from Lexus along with new PCV valve.
Day 5 Agenda
- Remove fuel pressure regulator
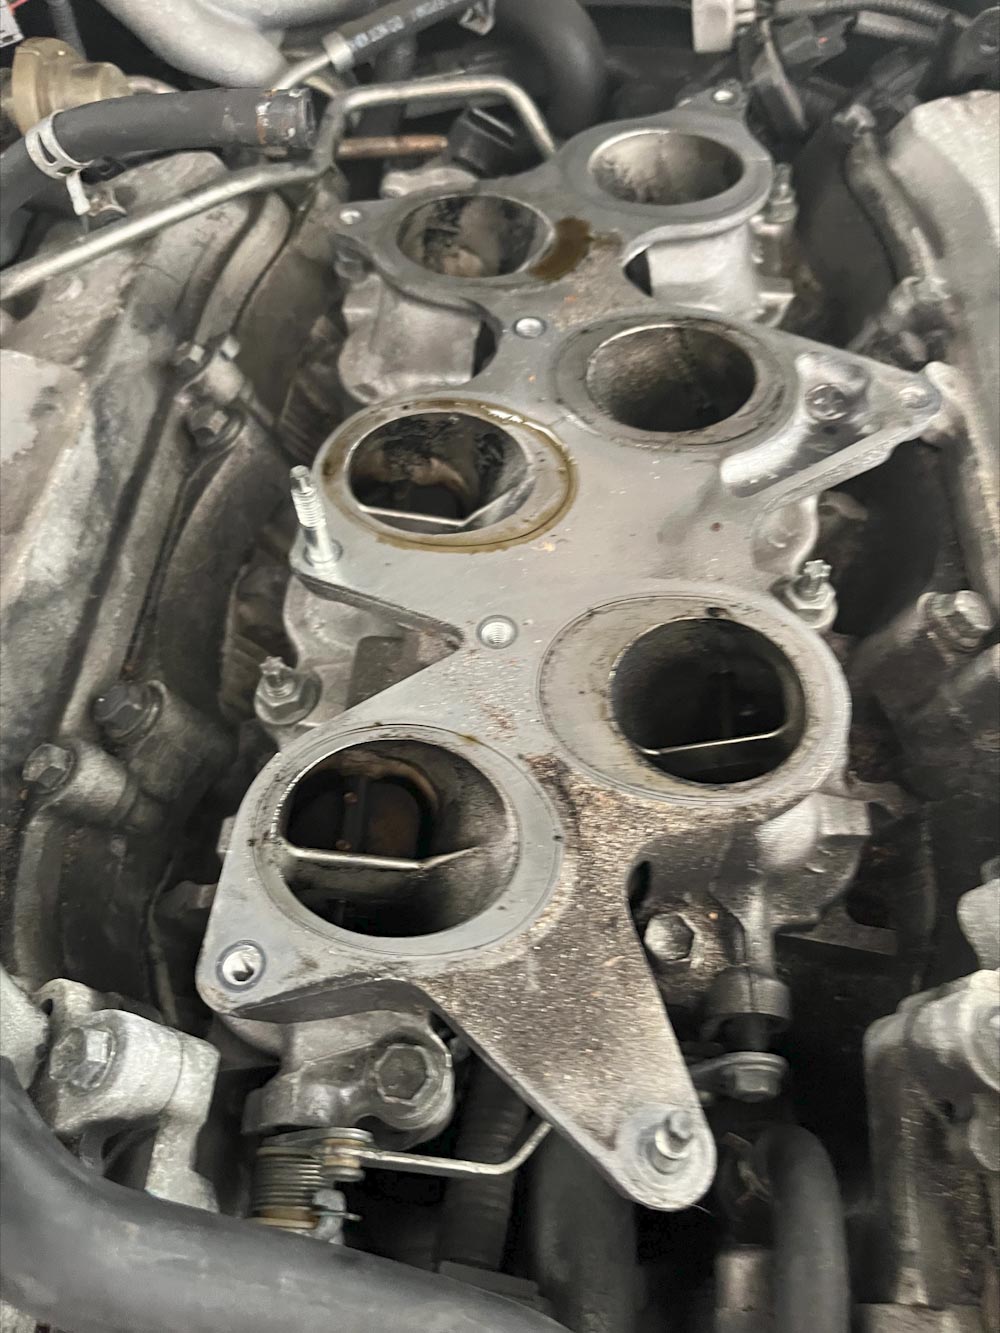
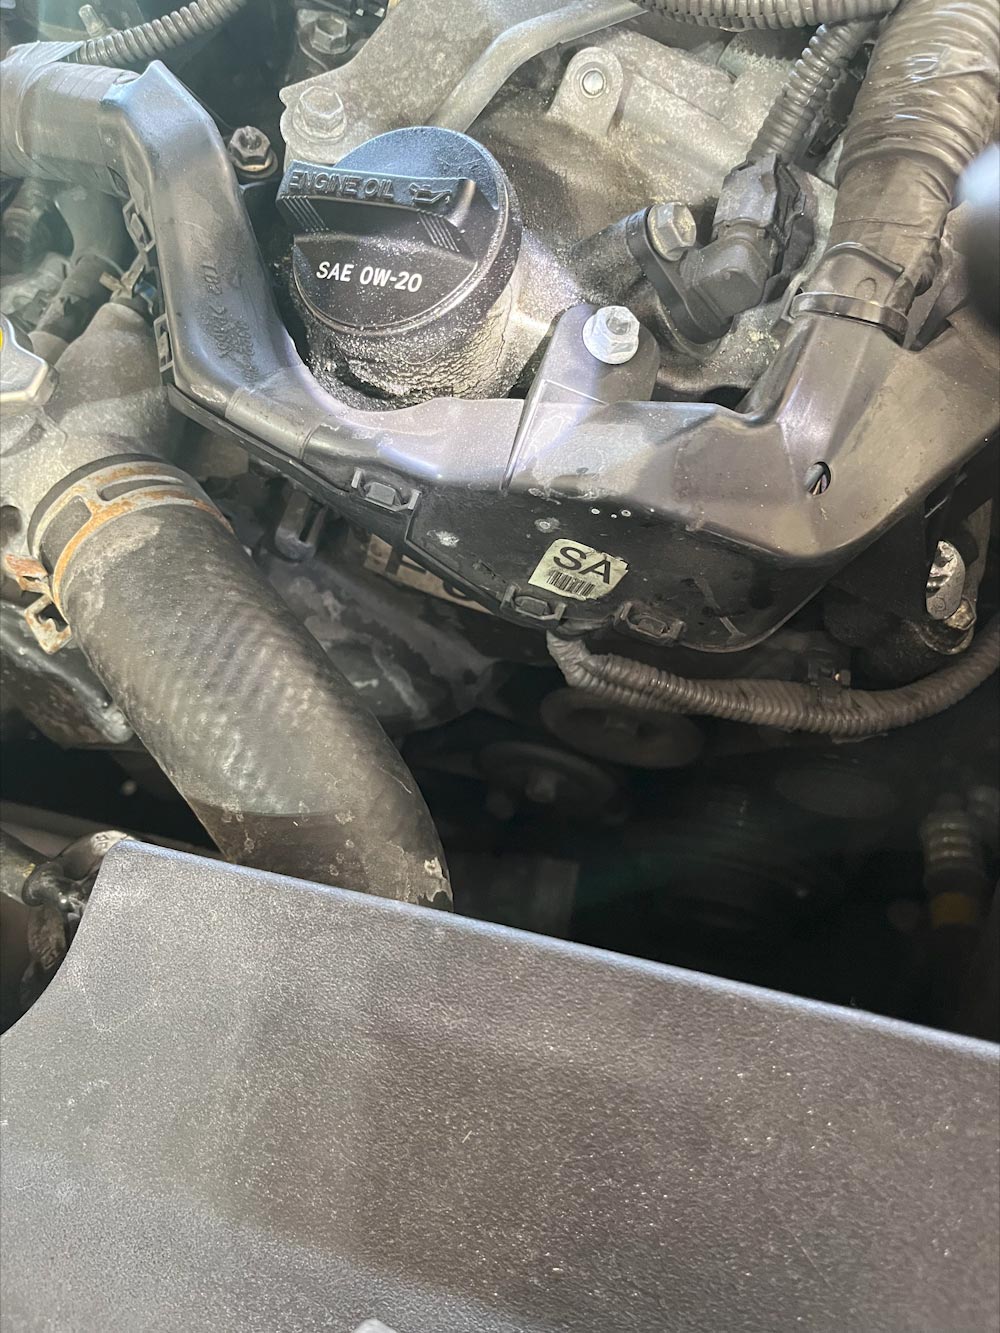
 Dirty Area Below Intake
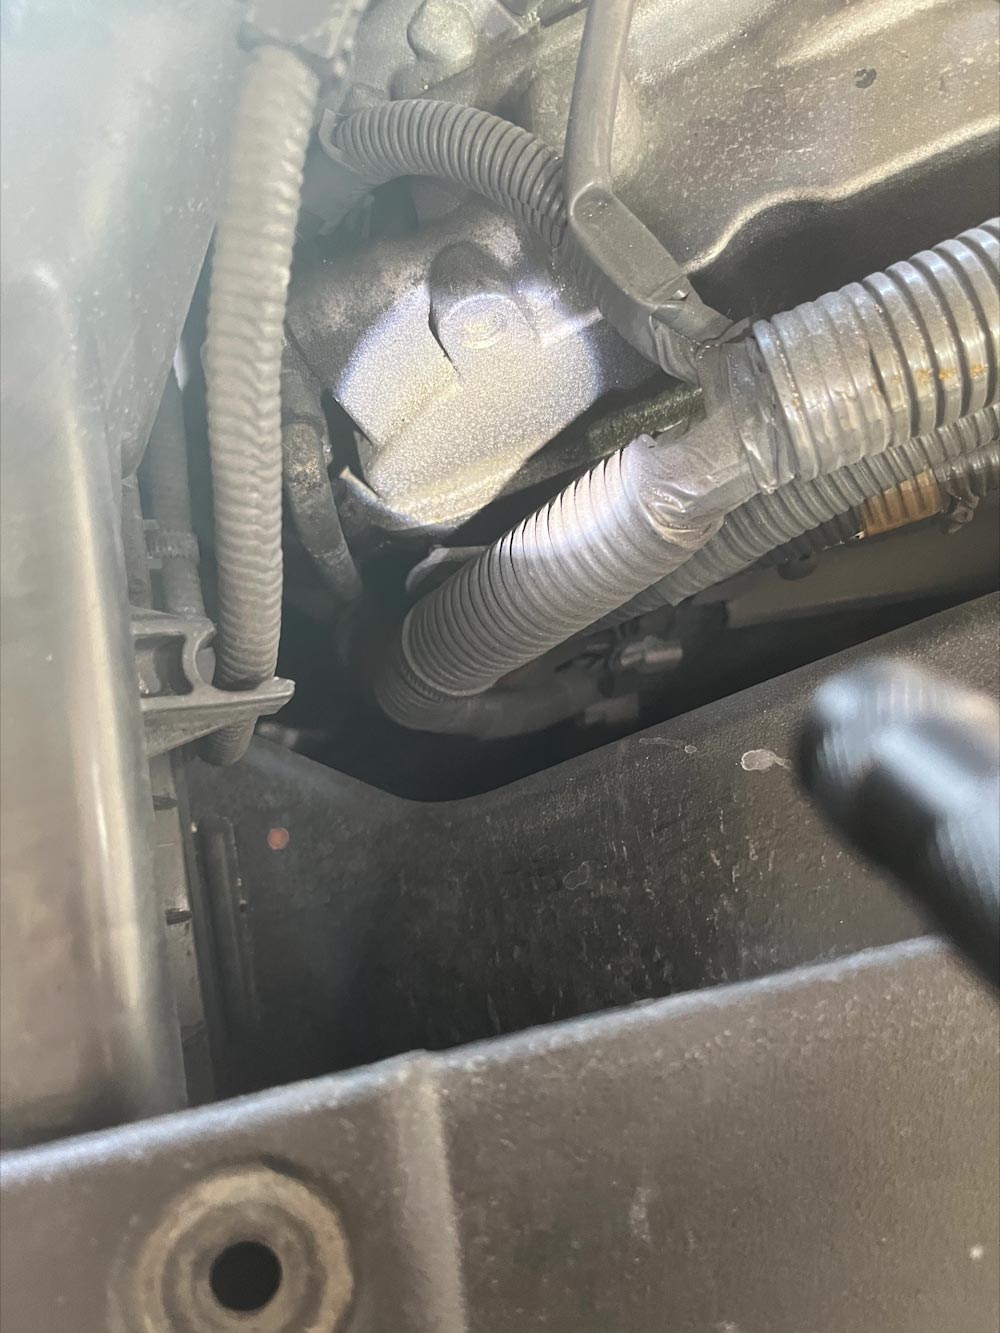
 Area Cleaned with Vac/Air
Day 5
- Battery removed to allow access to rear fuel pressure regulator bolt
- Bolts removed from fuel pressure regulator
- Electronic connection removed from fuel pressure regulator
- Hose removed from fuel pressure regulator
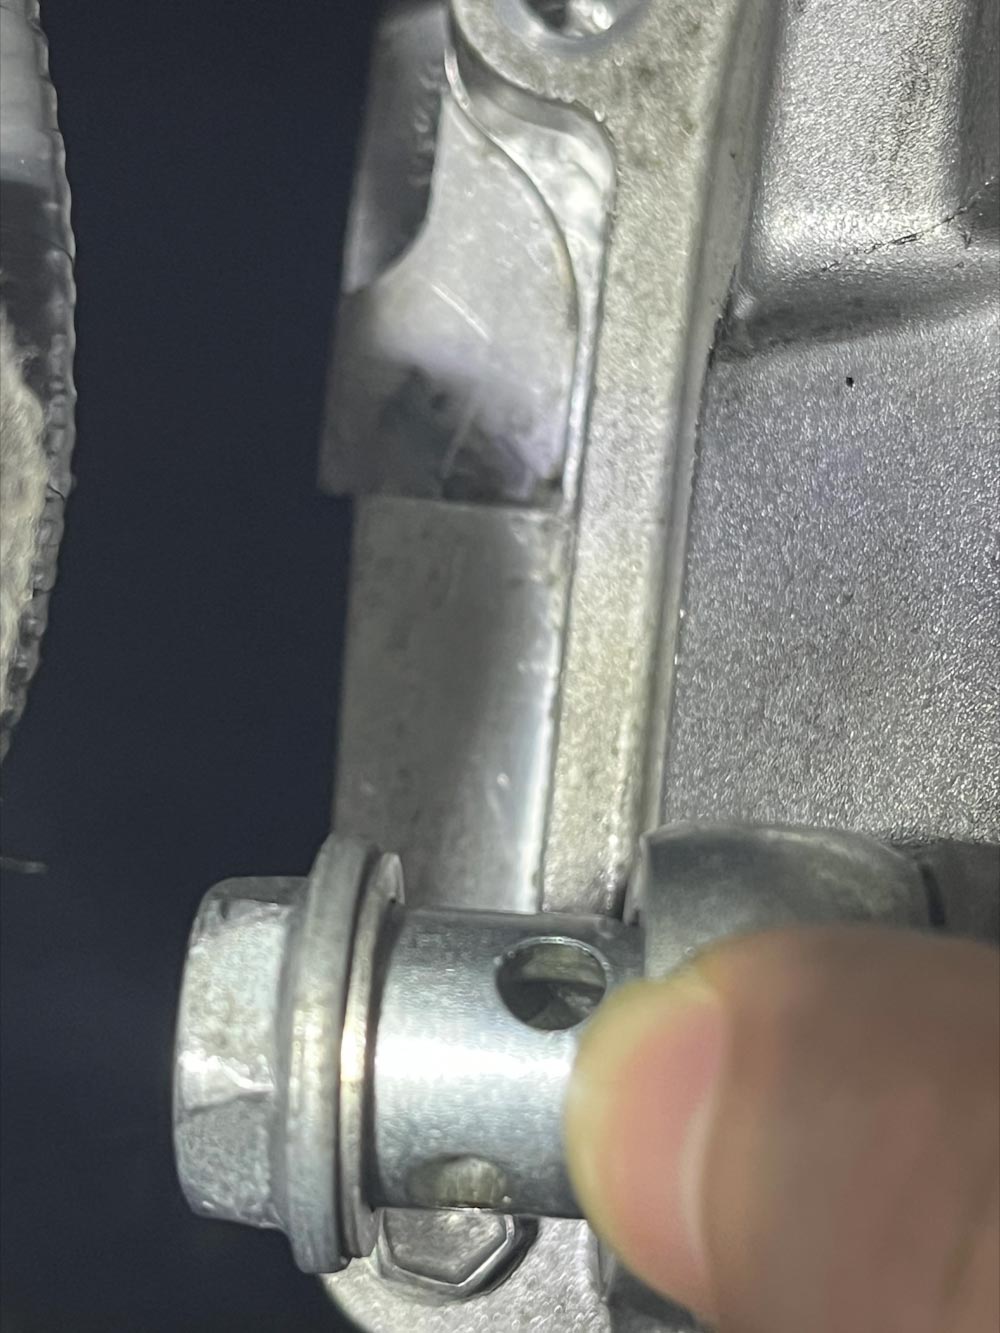
- Metal hose disconnected from fuel pressure regulator held by 3/4th bolt
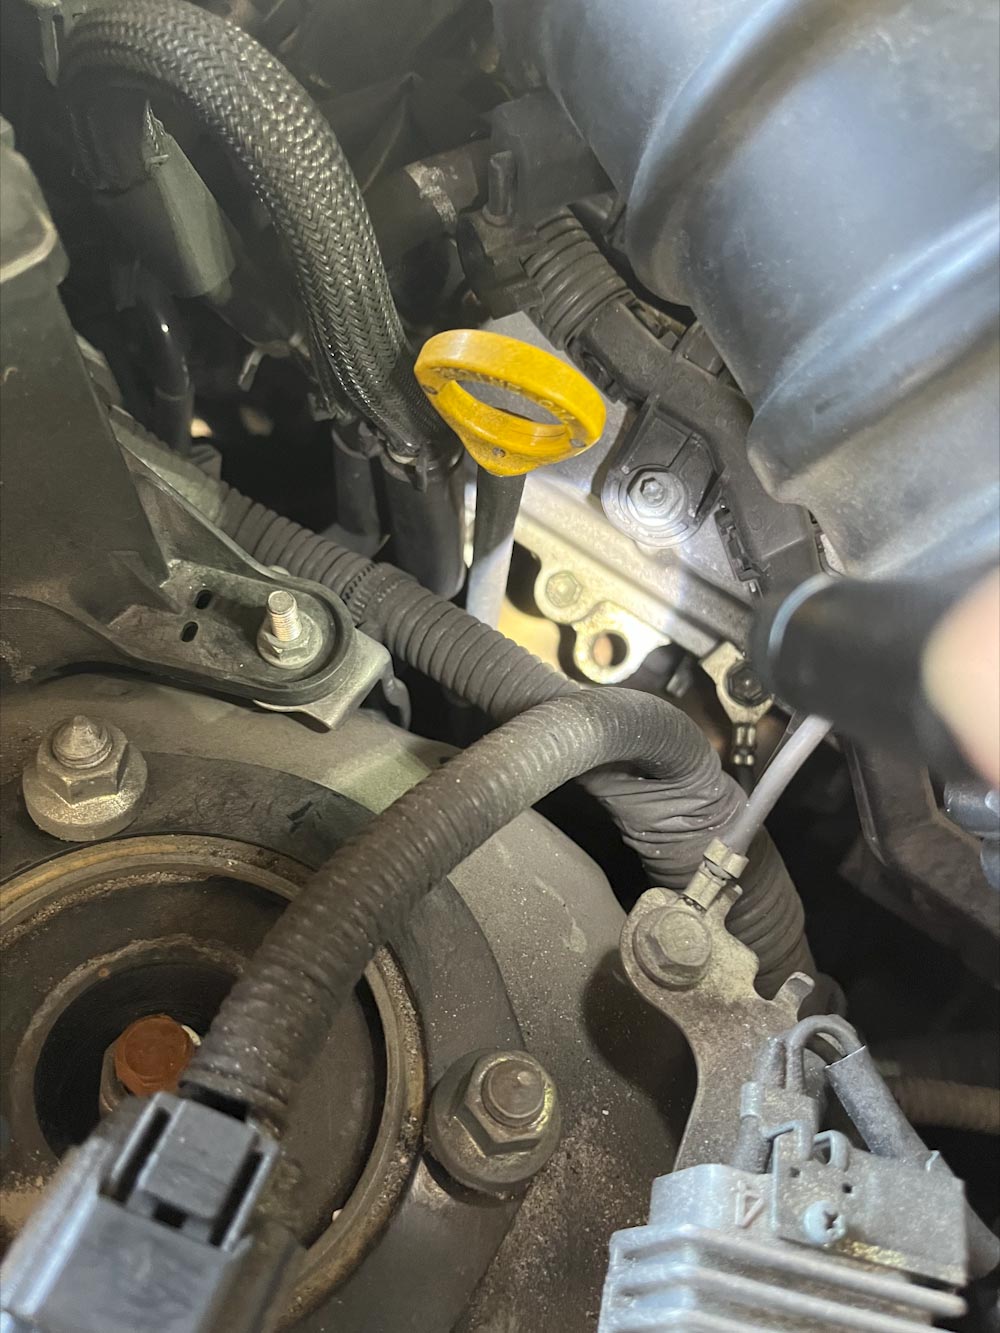
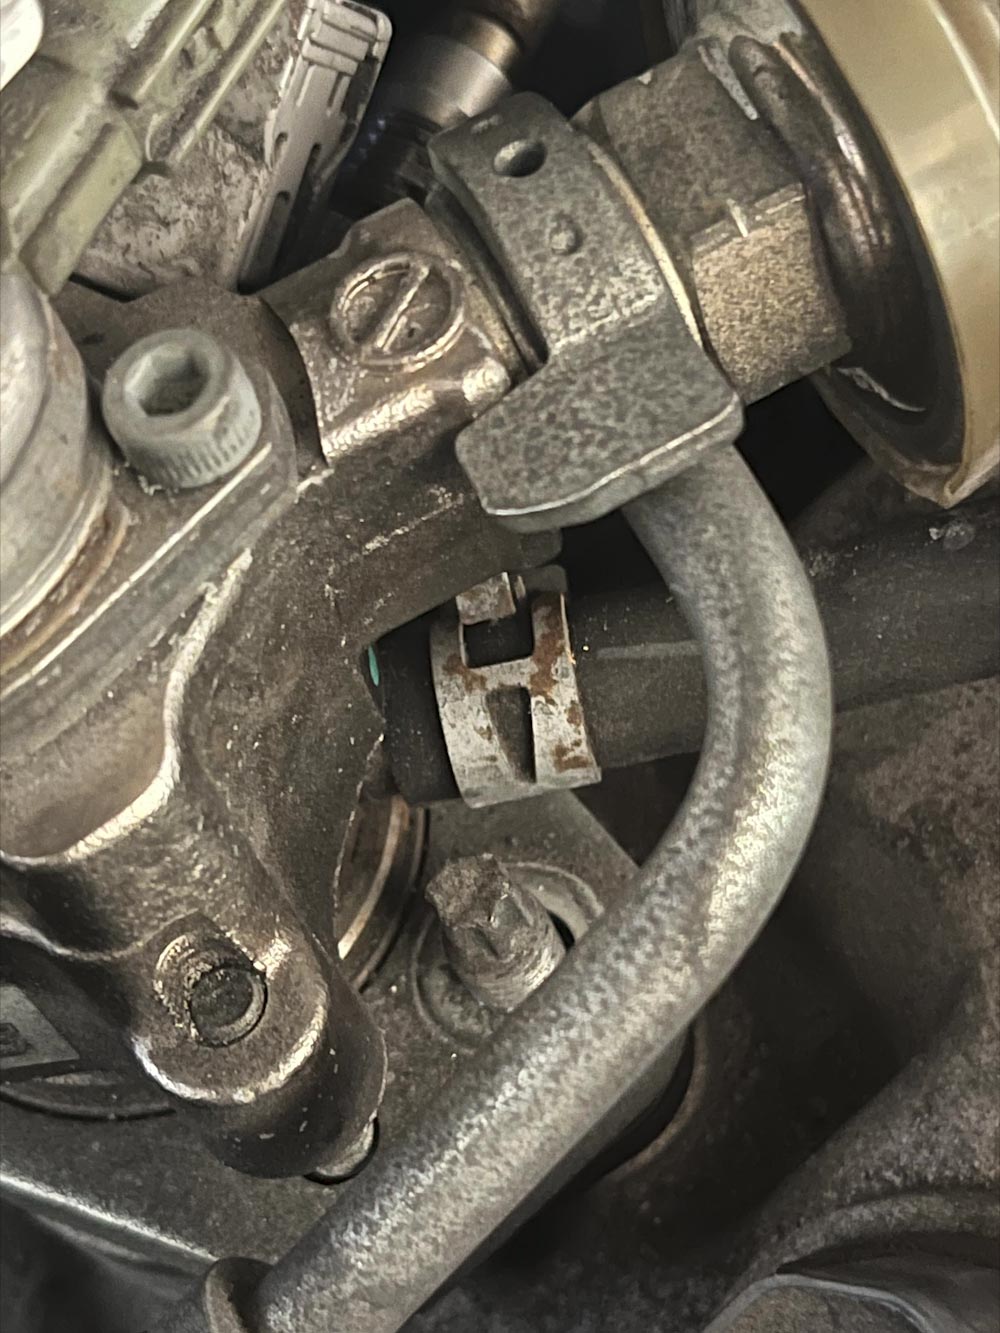
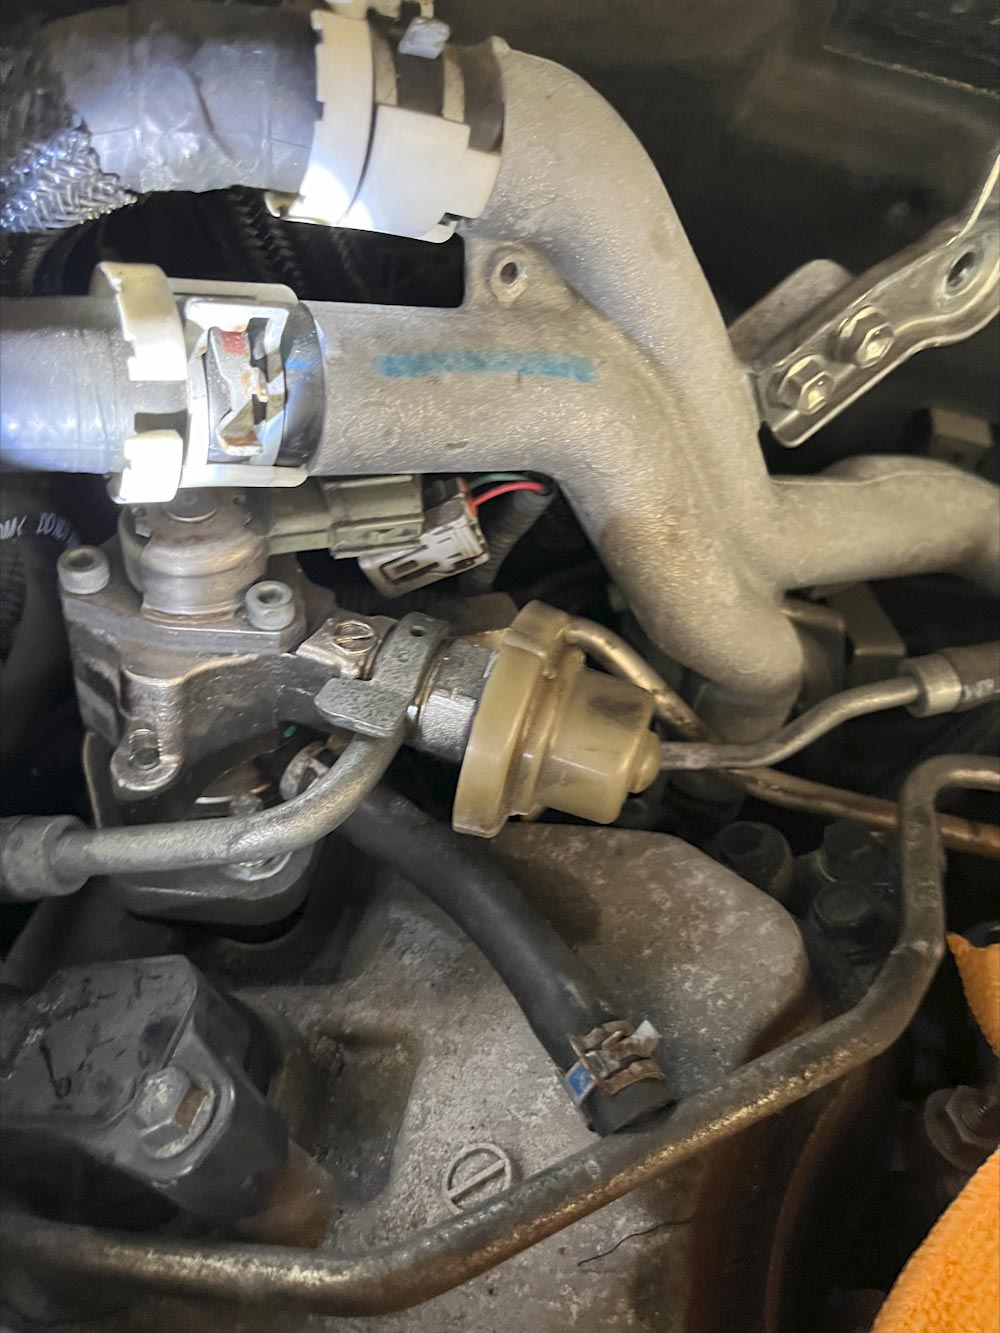
- Issue came up where metal lines are sitting directly above fuel pressure regulator giving maybe 1/2 inch clearance when the two 12mm bolts are removed. There probably twice that of bolt that needs to be cleared to remove it.
- Potential solution is to remove the two studs holding the bolt with a hex bolt. Accessing the rear one may be difficult. As shown here.The restricting factor is a guide? bolt on the rear side that (in the video) looks like they maneuver over with the studs off.
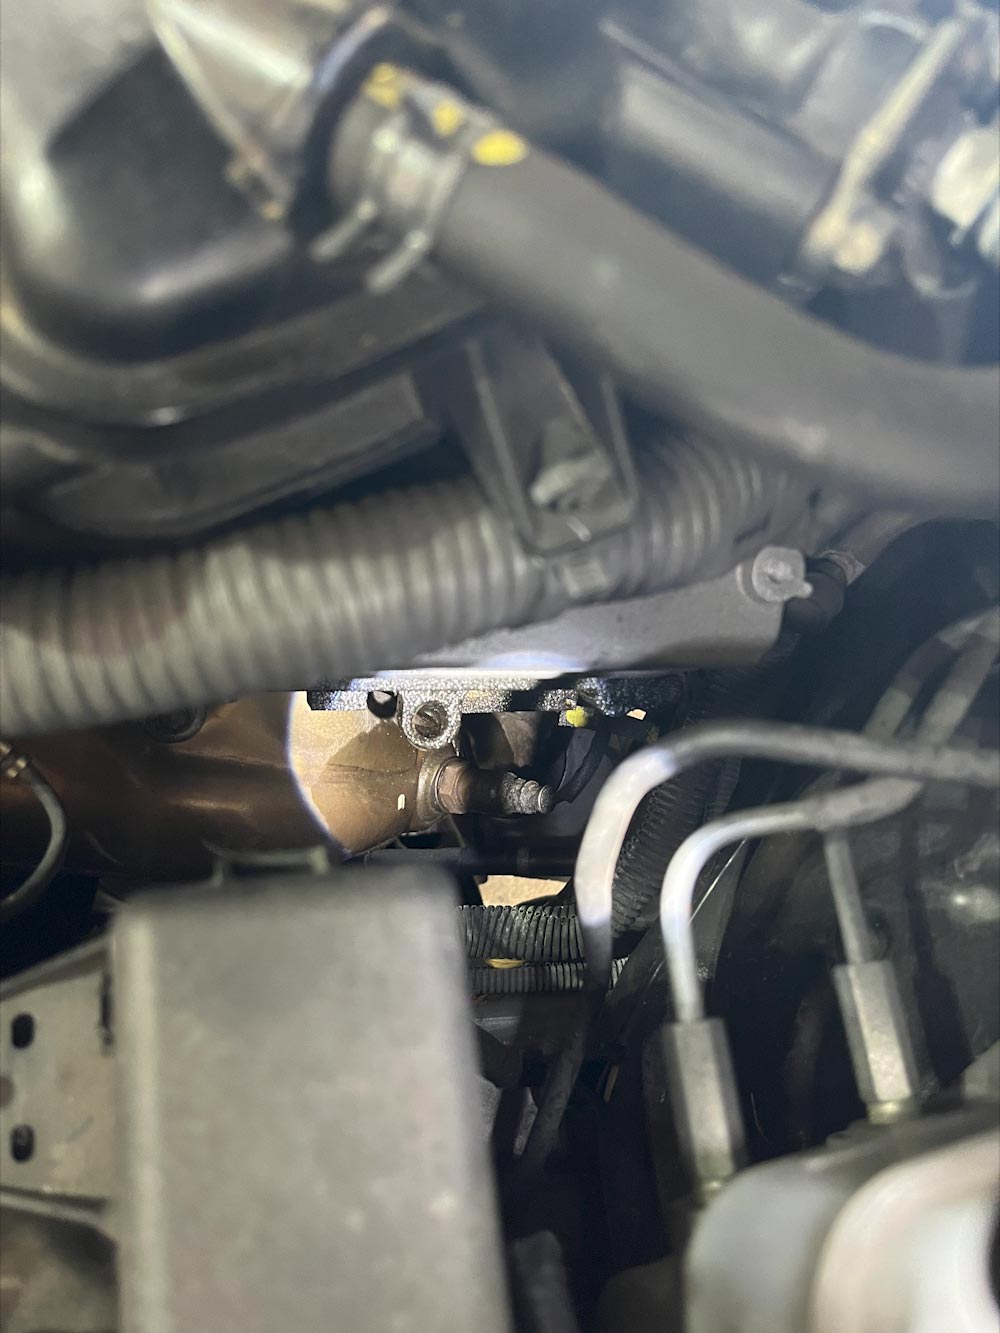
- Potential issue with metal fuel line running from fuel rail area to fuel pressure regulator. This line is held in place by two 10mm bolts. One of the bolts is inaccessible by socket and by normal wrench. If I need to remove this, I need a 10mm sheep's-foot socket attachment.
Day 6 Agenda
- Crack the driver side valve cover open.
- Manpower available on Day 7
Day 6
No work completed. Additional seals, new 5mm intake bolts, PCV valve picked up from Lexus dealership.
Day 7 Agenda
- Manpower available, remove fuel pressure regulator.
- Complete work up until the point where I have to put things back in place.
Day 7
- Additional manpower available.
- All bolts removed from valve cover.
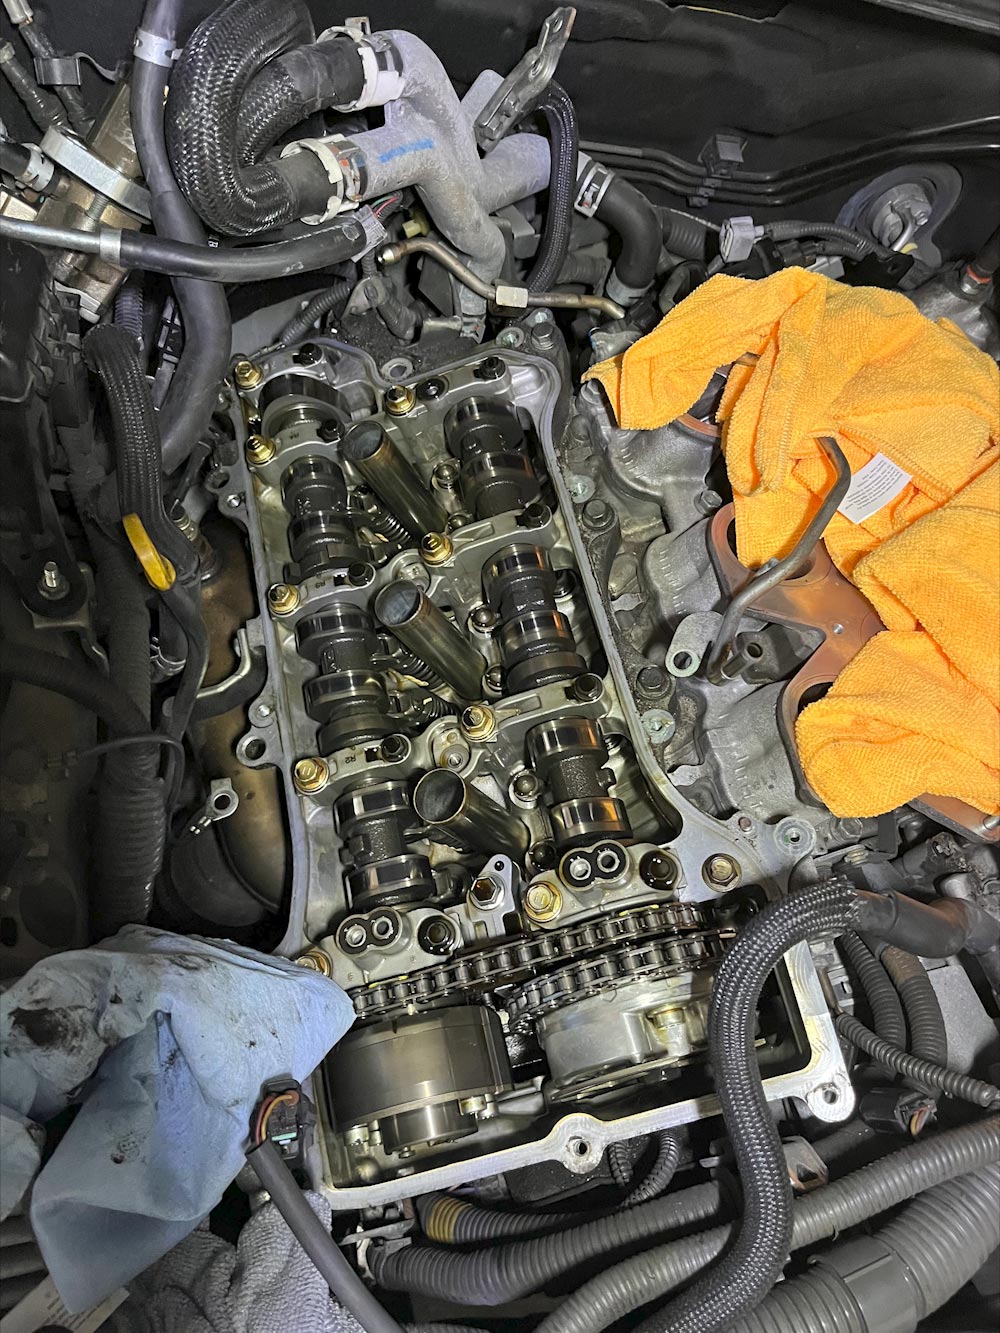
- Valve cover removed and gasket removed along with 3 other seals.
- 2, 8 shaped seals towards the front of engine
- 1, o ring seal towards rear of engine
- Spark plug tube seals to be removed
- Issue came up where during the removal of the first spark plug seal, the inner seal broke out of the casing and the outer seal remained in place.
- Decided to return tomorrow with a heat gun to remove the remaining seals and put back the valve cover on engine.
- Issue came up where during the removal of the first spark plug seal, the inner seal broke out of the casing and the outer seal remained in place.
- O2 sensor to be removed with rented special socket adaptor
- Given a couple attempts and then one with pb blaster but could not remove the bolt due to lack of teeth on the ratchet and lack of space in engine and lack of length on ratchet.
- Best case is, pb blaster reapplied and able to be removed tomorrow, potentially using heat gun to help.
- Worst case, tomorrow bolt is stripped tomorrow and exhaust manifold has to be removed to remove bolt via other means at the shop.
Day 8 Agenda:
- Remove spark plug tube seals and replace with new
- Replace spark plugs.
- Remove and replace o2 sensor
- Replace valve cover gasket and remount valve cover on LT
Day 8
- Problem of brittle spark plug tube seals solved by using a heat gun to assist in removal along with flathead screwdriver and pliers.
- New seals oiled and mounted.
- Trip to home depot to buy tools to get the o2 sensor out as.
- Option 1: 12 point, 1 inch wrench extended by another wrench.
- Option 2: Extendible flex head 3/8th inch ratchet extended further by metal plumbers pipe. This would be ideal unless the ratchet head wouldn't have enough space to fit in the o2 sensor socket.
- Optimal solution was option 2 and broke free revealing some sort of anti-seize or thread-locker was coating the thread and holding it in place.
- Trip to advanced to get high mileage oil to oil seals as well as E8 torx bolts to remove fuel pressure regulator.
- Advanced didn't have torx bolts. Drove to home depot to get them.
- Old spark plugs removed
- Problem arose that spark plug would not come out of socket.
- Solution was my own error on underestimating how long the spark plug threads are as well as assistance via using a magnet on a stick to get the spark plug and or socket out of the tube.
- New spark plugs replaced and torqued to spec using torque wrench.
Day 9 Agenda:
- Remove external torx stud from fuel pressure regulator.
- Anticipating problem with removing stud on backside. No room on backside to fit ratchet in as well as remove it. I might have to use pliers to take it out.
- Remove fuel line passing over RT valve cover
- Potentially remove fuel line passing behind RT valve cover connecting to fuel pressure regulator.
- Remove fuel pressure regulator
- Loosen all bolts connecting RT valve cover.
- Remove RT coils packs.
- Install o2 sensor and plug it in.

O2 Sensor Breaker Bar Setup
Thread Locker on O2 Sensor Socket
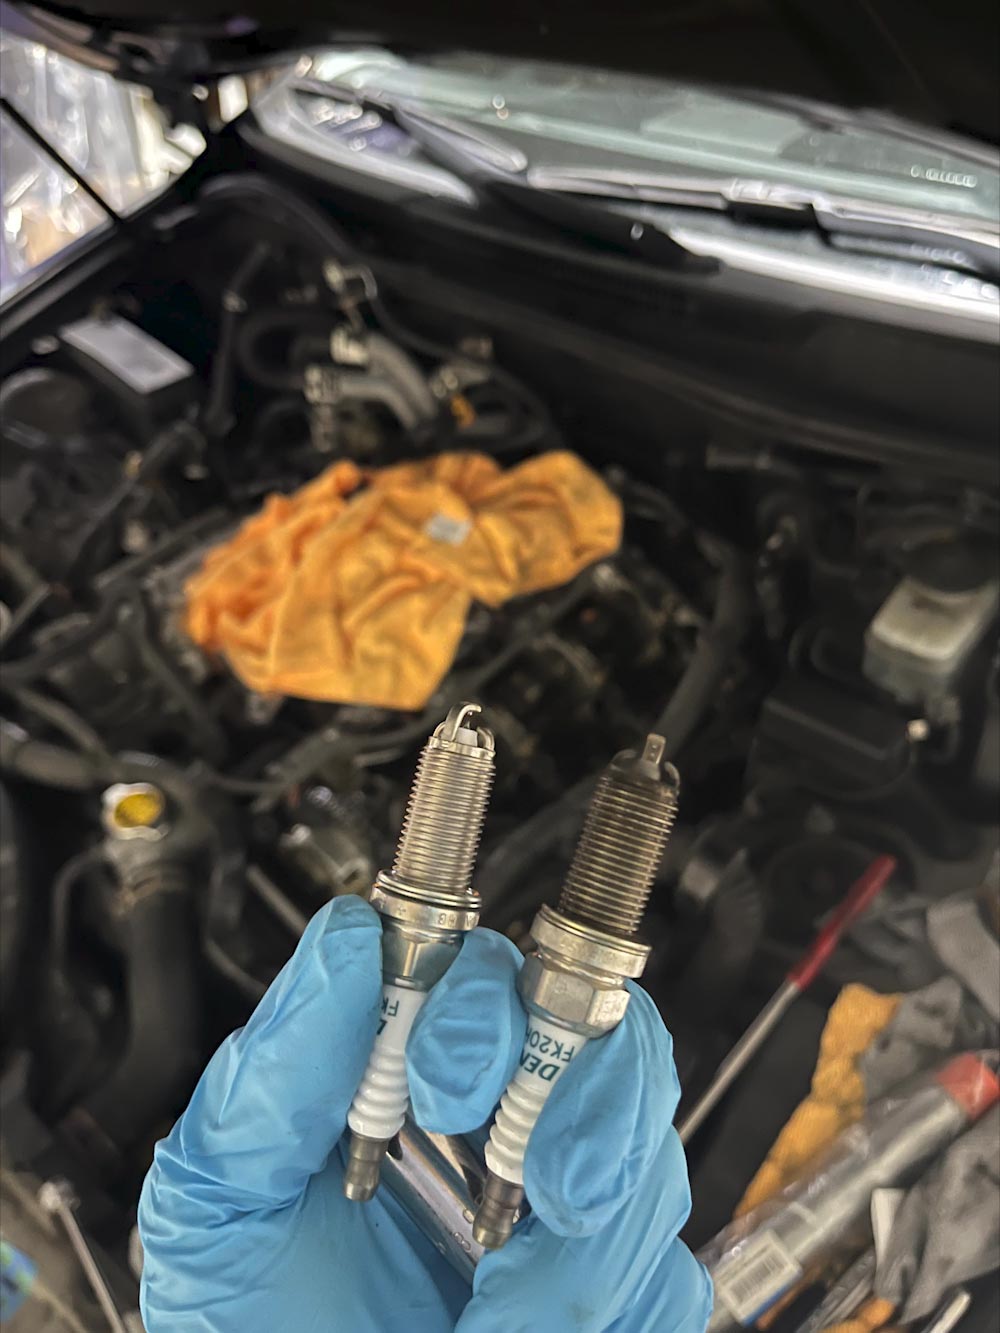
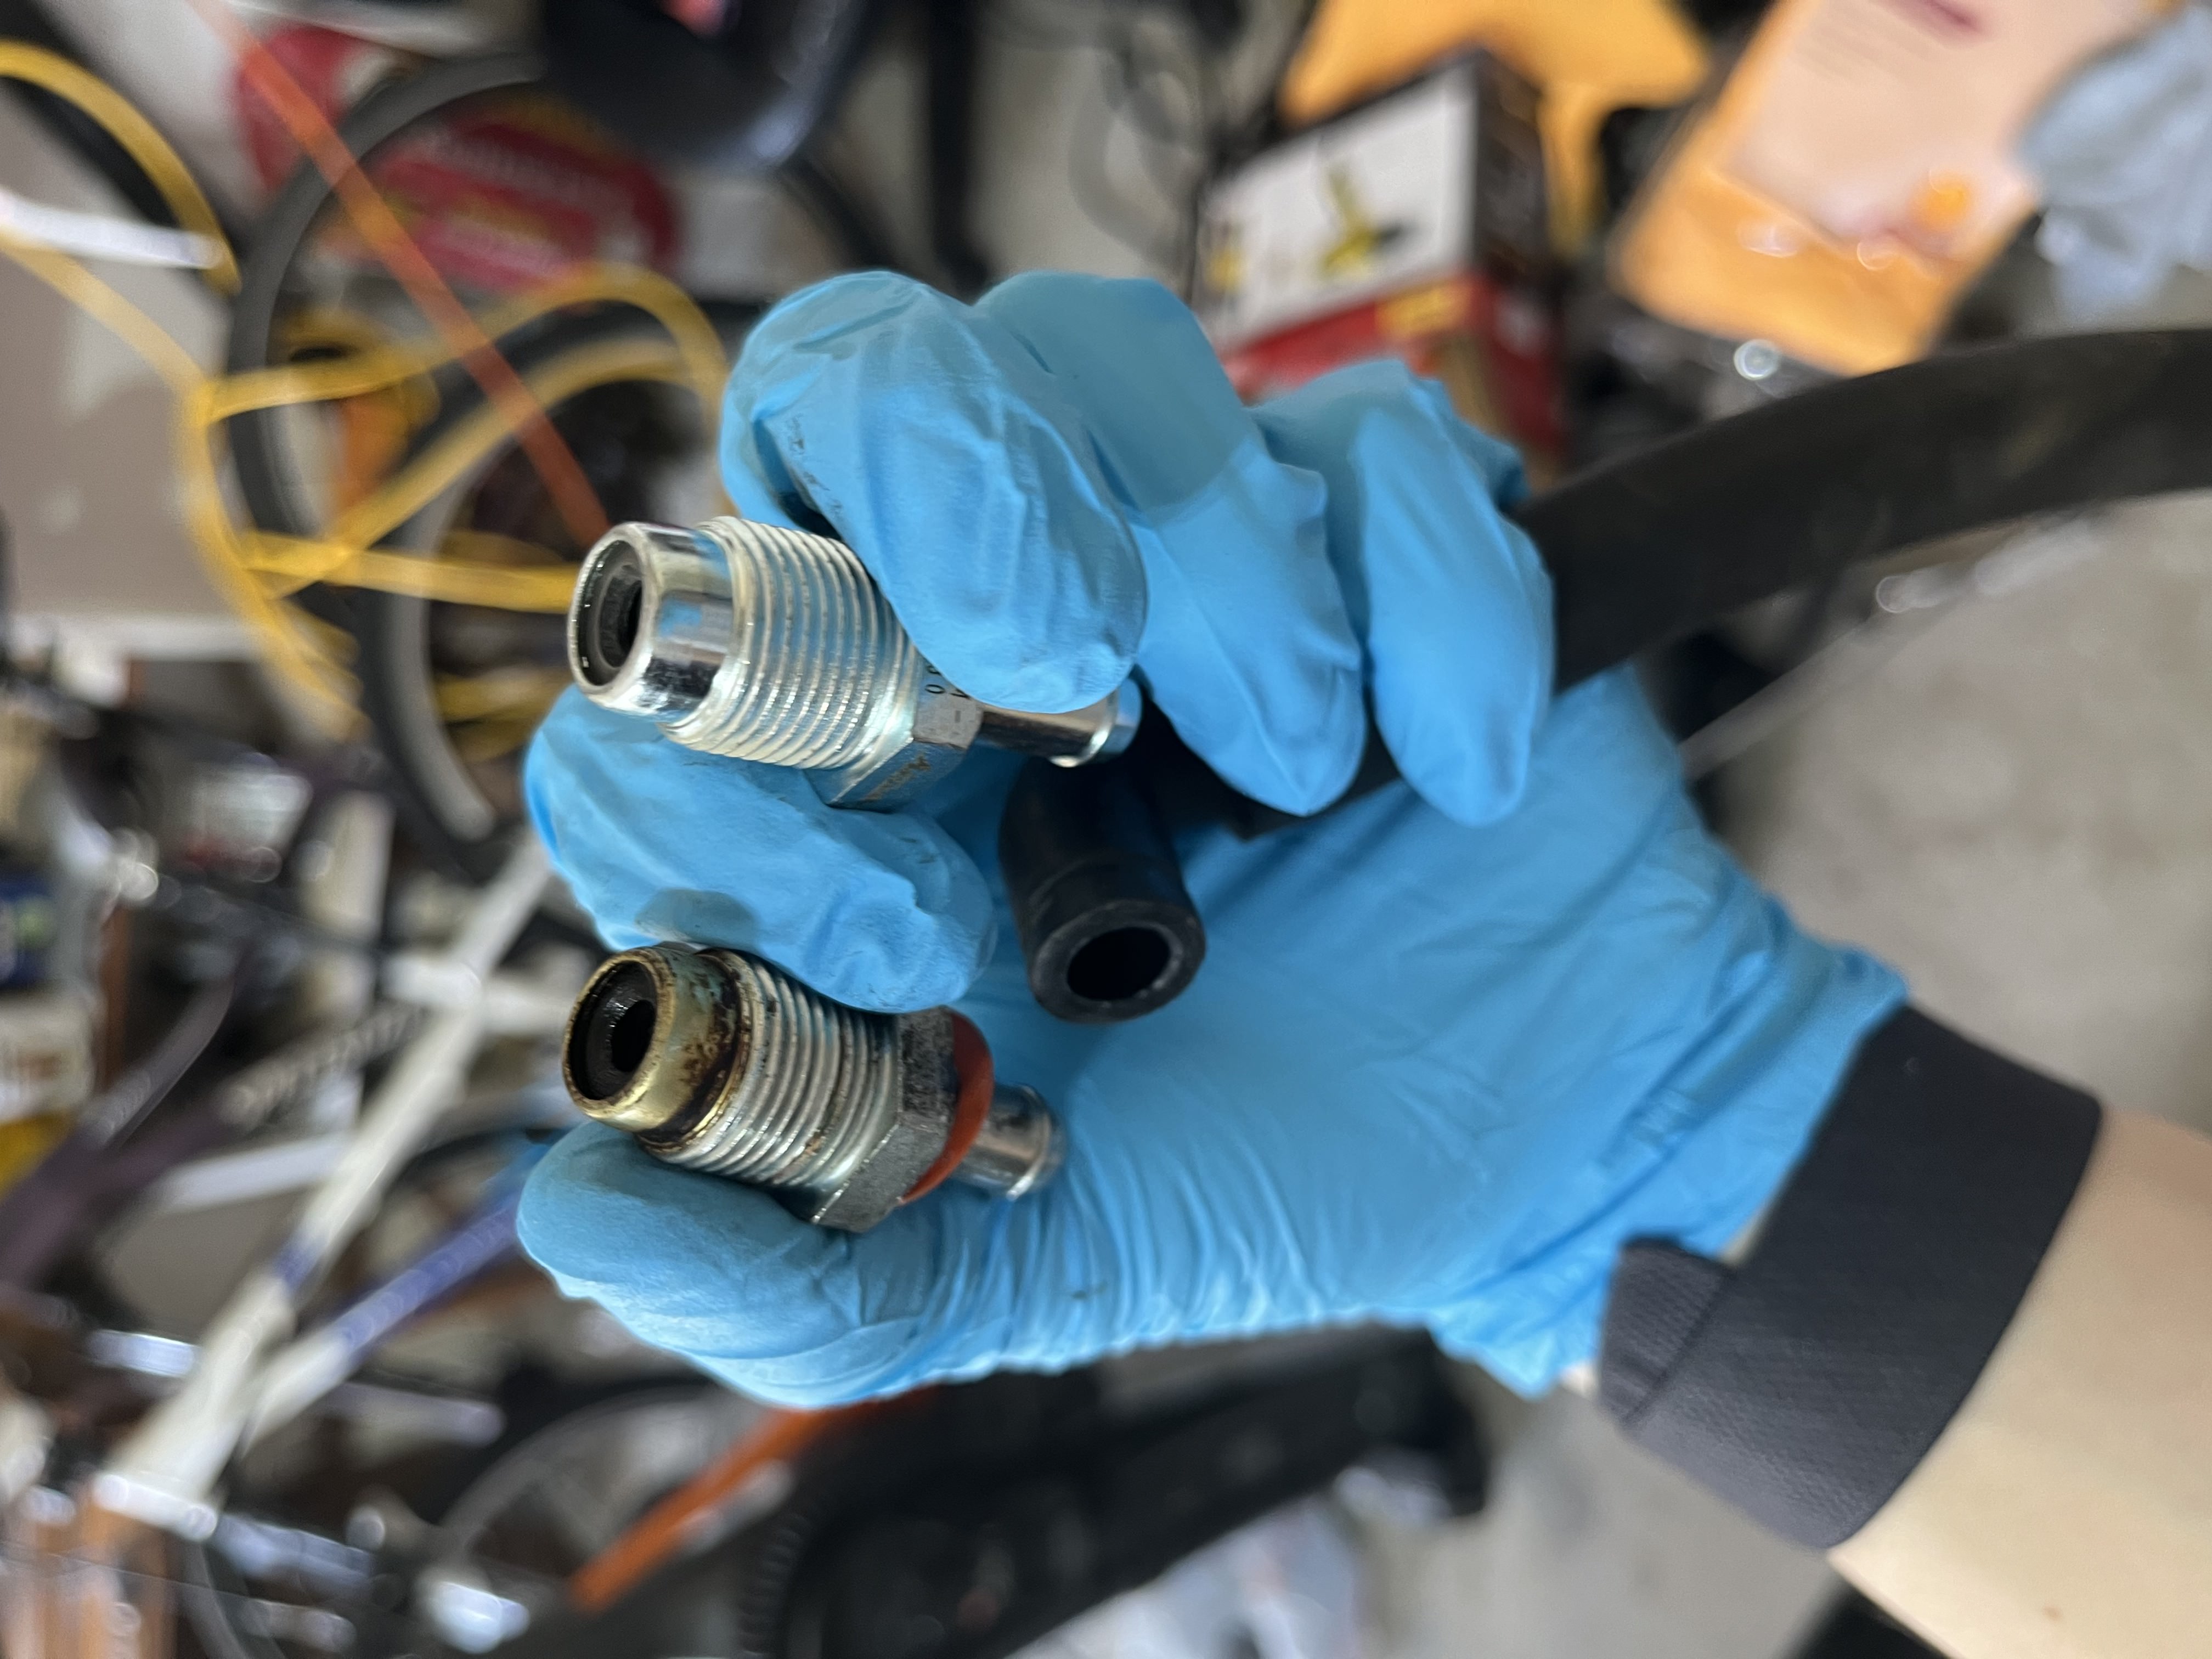
New Spark Plug (Left) compared to old
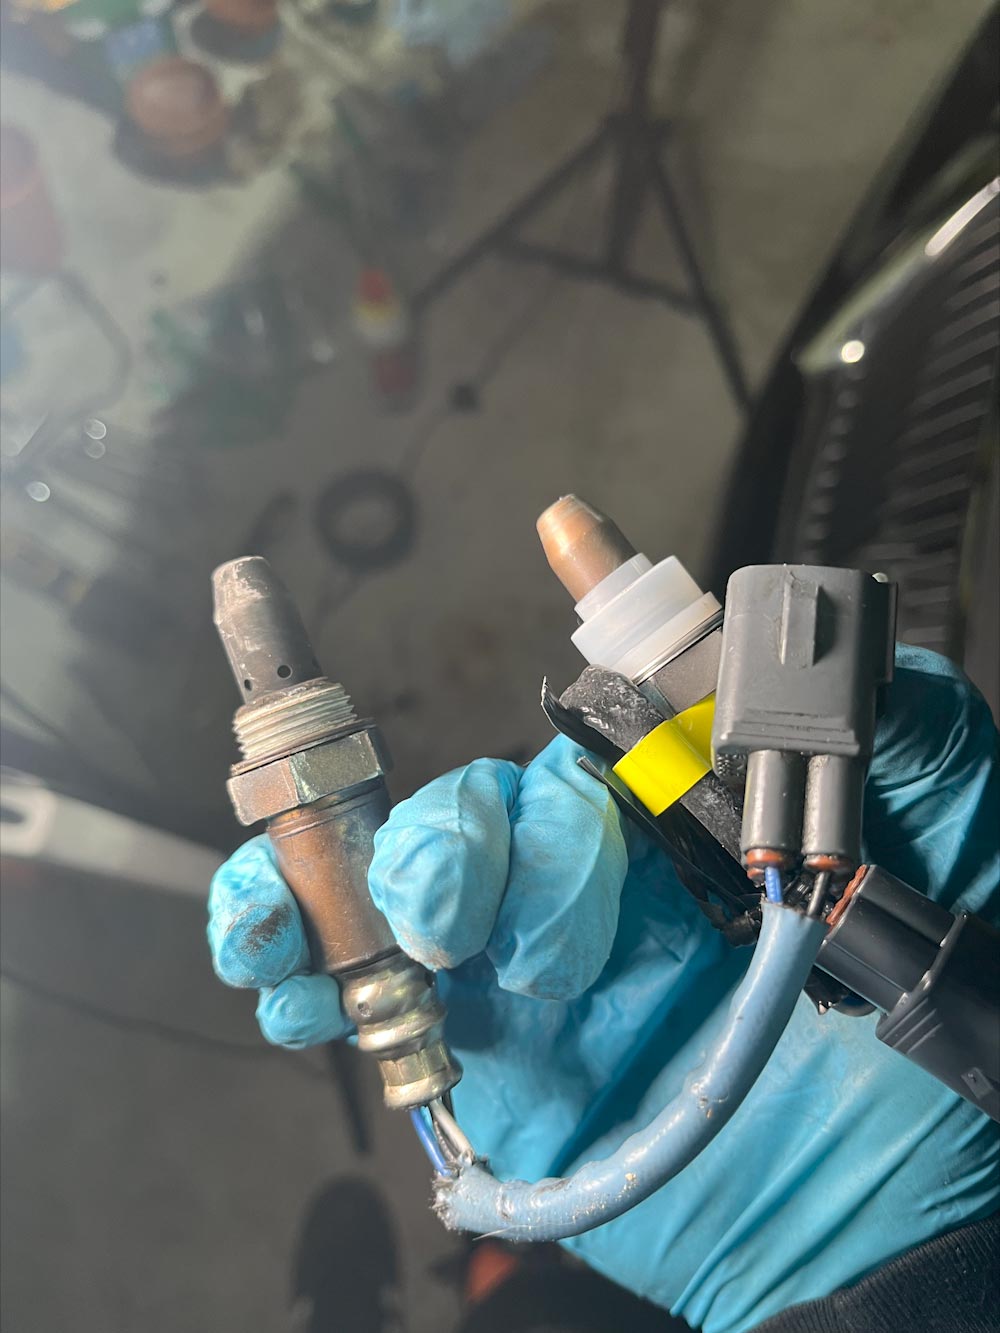
New (Right) compared to Old o2 sensor
Day 8.5
- Removed studs holding fuel pressure regulator in place.
- Fuel pressure regulator confirmed to be able to be removed now.
- Identified and disconnected final fuel line obstructing removal of valve cover on passenger side.
Day 8.75
- Spent entire day searching for a 12mm valve cover bracket bolt that dropped into the engine but didn't fall onto the plastic undercarriage.
- Dropped a redundant bolt to see where the bolts go when they are dropped and that bolt was lost as well.
- Initial bolt was sitting a metal plate on bottom of engine.
- Plate could be removed with 3x10mm bolts on undercarriage
- Redundant bolt was under some sort of electronic housing for the front left axle.
- Both identified by lowering phone camera into engine bay. Both retrieved using flexible magnet claw.
Day 9
- Installed new o2 sensor, not yet torqued or plugged.
- Installed new PCV valve
- Replaced seal for long 12mm cam bolt? that goes in middle of valve cover.
- Installed all 13 valve cover bolts on LT.
- Issue came up where 10mm bolts required 10nm of torque and 12mm bolts required 21nm of torque. Both torque wrenches I have go to a minimum of 25nm. Need a smaller torque wrench.
- Attempted to get banjo bolt back installed.
- Failed attempt due to lack of space but the culprit is believed to be the clearance created by torqueing all of the valve cover bolts down to align the washer and bolts.
Day 10 Agenda:
- Failed attempt due to lack of space but the culprit is believed to be the clearance created by torqueing all of the valve cover bolts down to align the washer and bolts.
- Buy a smaller torque wrench
- Torque all valve cover bolts to spec
- Install banjo bolt
- Remove all valve cover bolts from RT
New (Right) Vs Old PCV Valve
Day 10
- Removed all 14 valve cover bolts on RT valve cover.
- Removed valve cover
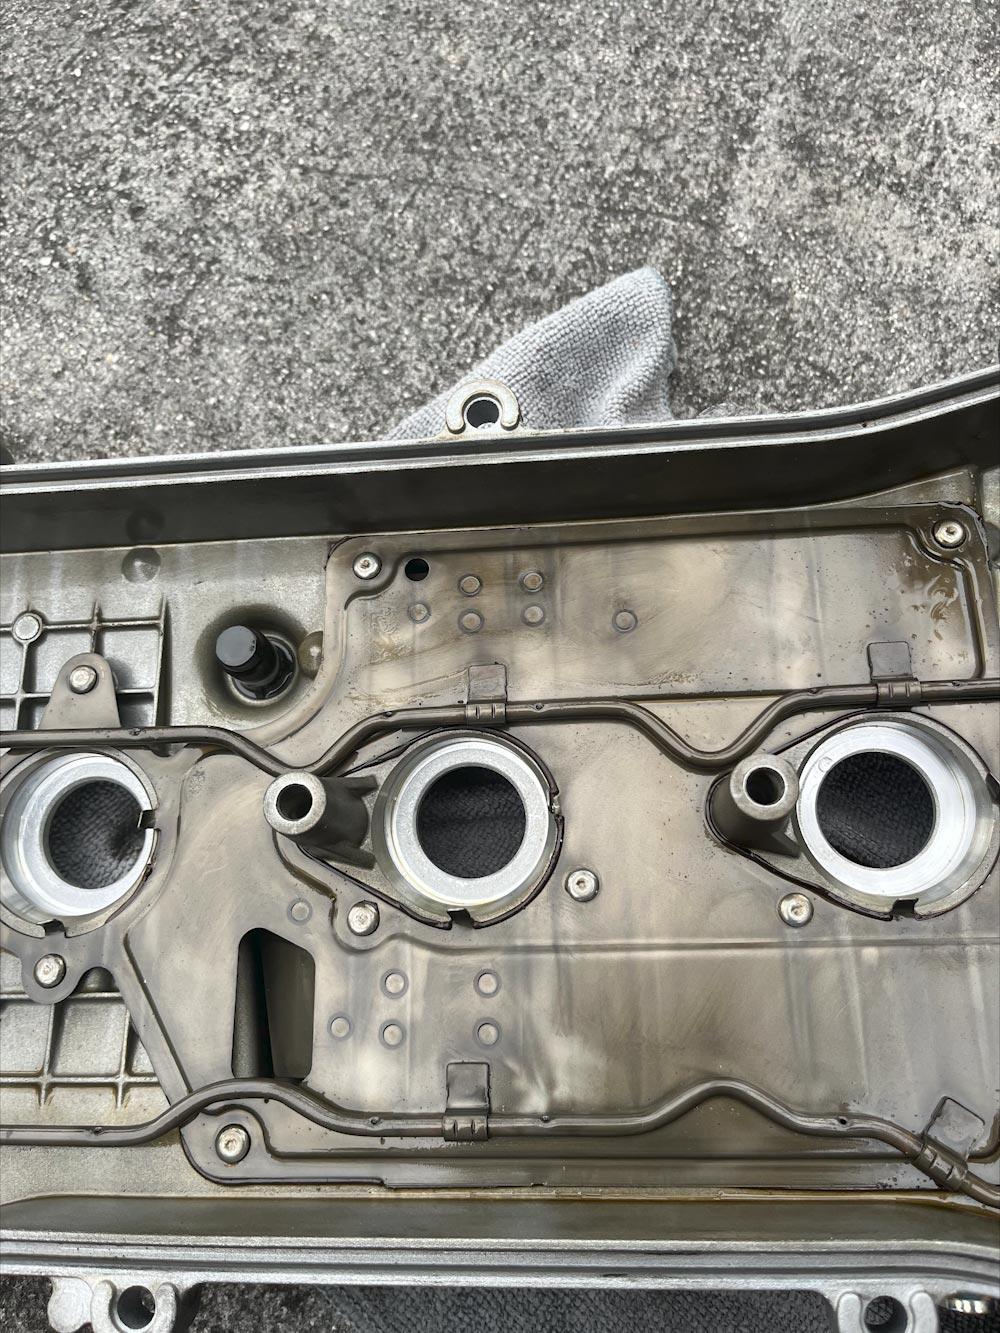
- Cleaned valve cover
- Replaced spark plug seals
- Issue came up where when using heat gun to break seals, two of the seals created some sort of texture where the seals are seated. Will keep an eye on this.
- Replaced spark plugs, torqued to spec
- Reapplied ultra grey sealant on directed area on engine block
- Remounted valve cover with new gasket
- Replaced but not torqued all 14 valve cover bolts.
Day 11
- Attempted to torque valve cover bolts to spec.
- Major failure when two of the bolts broke.
- One broken bolt was removed with pliers and other was unable to be removed with pliers. To be filed and extracted using drill bit.
- Delay in production of minimum 3 days for procurement of new bolts. In the mean time intake manifold gasket replacement as well as additional valve cover seal for middle long bolt.
- Note: Hypothesis on why bolt broke, My process for tightening bolts went as follows
- Put all bolts back in holes to ensure that none are missing, Each bank has about 13 in total.
- Finger tighten all bolts
- Torque all bolts until light resistance all the way around
- Repeat 3 twice, each round made the next round reset.
- Use torque wrench to final torque bolt to spec.
- In my head at the time, this seemed like a valid process but after the fact, this process may have lead to the failure.
- Lets assume at the end of step 4, all bolts allowing a gap of length d between the valve cover and the head of the engine. By doing step 5, I am reducing d but only for that one bolt, all the other bolts are happy and threaded at d, creating a resistance between all the bolts and the one bolt I am torqueing. In hindsight this seems obvious but in the moment, it was not a thought in my head.
- Revised process would include fully seating one bolt at a time. Going inwards to outward.
Day 12
- Final attempts to get bolt out using pliers unsuccessful.
- Nub of the bolt was filed down to a shallower extruding dome.
- Extracting drill bit procured and tested on a dummy bolt in a vice grip on bench.
- Extracting bit purchased paired with the drill on hand could not meaningfully penetrate the engine bolts.
- Extracting bit tested on a more standard nail for carpentry and it penetrated the nail with enough downward force.
- Extraction using this bit abandoned for the following reasons.
- This bit or any other bit required precise drilling into the exact core of the stuck bolt and myself doing this accurately was not 100% likely and I did not want to risk drilling into the thread or in a way that is directly parallels the path of the bolt.
- I would need to buy another drill bit, drilling paste?, and possibly a more powerful drill.
- Given my experience with the dummy bolt, I am not confident in my physical strength to be able to push down hard enough and penetrate the stuck bolt in a meaningful way even if I had the proper tools.
- If I proceed with repairs as if nothing happened, the bolt can still be extracted after the operation is complete if it is the cause of a new leak.
Day 13
- Proceeding with original intent of putting everything back together.
- New o2 sensor given final torque and electronics connected to the back of the engine.
- Valve covers torqued by hand with no problem.
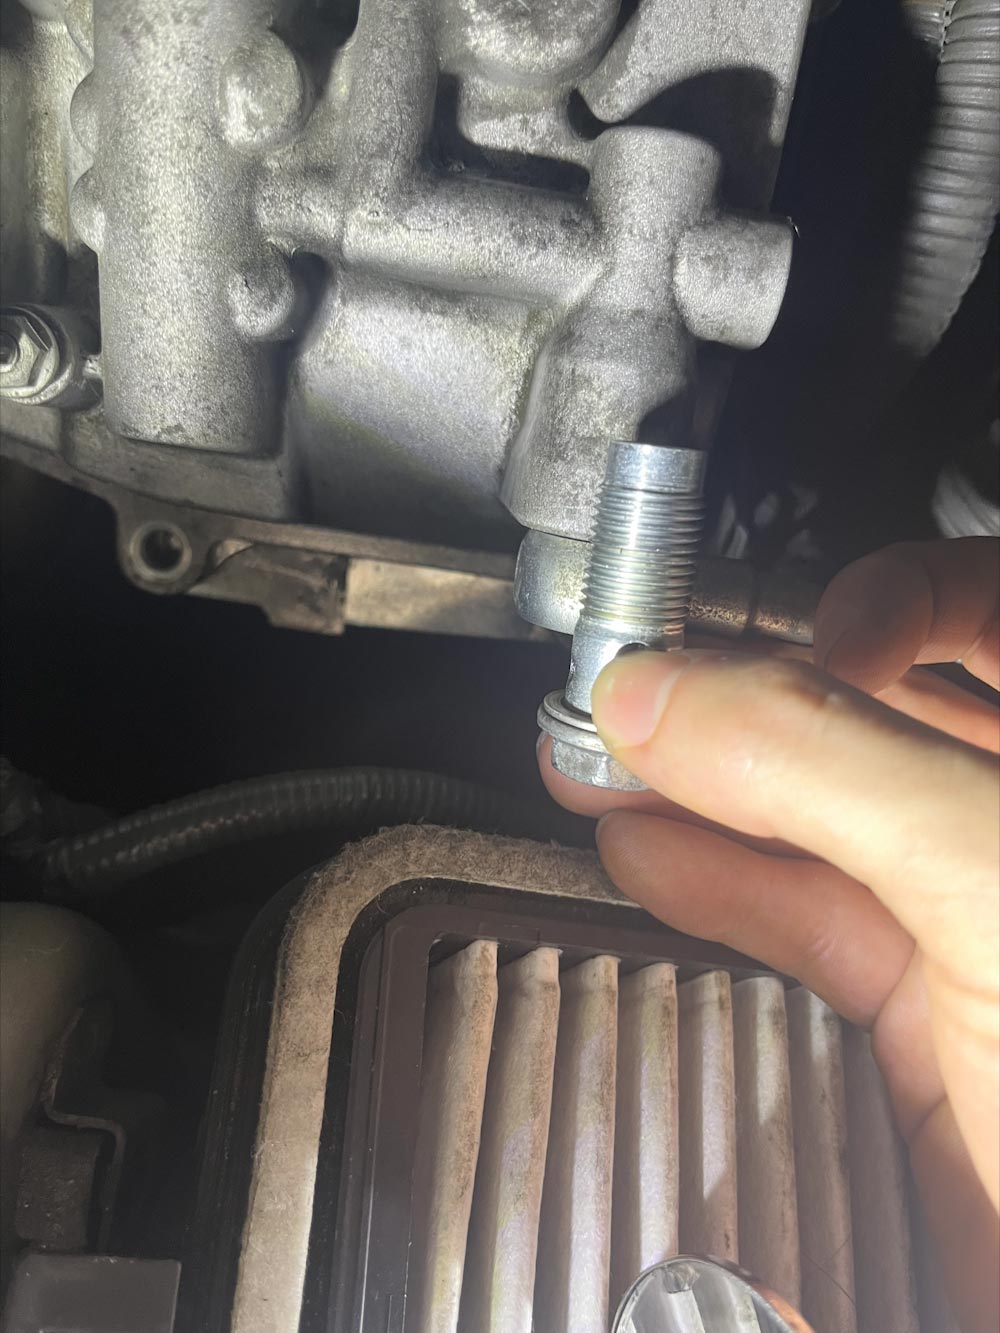
- Major failure occurring when putting back the second banjo bolt to the right side of the engine. No issues reinstalling the left side.
- Unnatural resistance encountered when reinstalling right banjo bolt.
- Bolt removed and threads revealed to have came out of valve cover gasket, threads become cross-threaded at some point about half way into installation.
- Operation cannot continue this day due to unforeseen delay.
- Path forward includes buying new banjo bolt and washer, removing valve cover on right side of engine and taking it to machine shop for them to make the thread usable again.
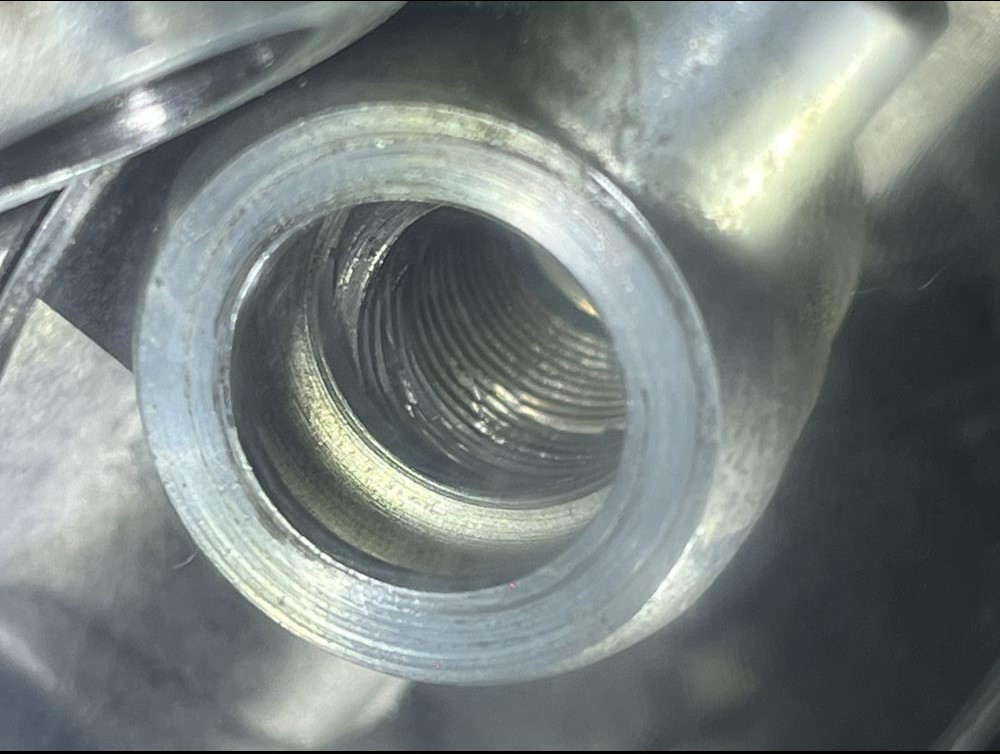
Cross threaded banjo bolt socket
Day 14
- After procuring new banjo bolt and washer, the valve cover was removed along with coils.
- Machine shop tapped the existing thread and restored function within 15 minutes.
- Valve cover gasket reinstalled
- Valve cover reinstalled to head
- Coils, Coil mounts reinstalled
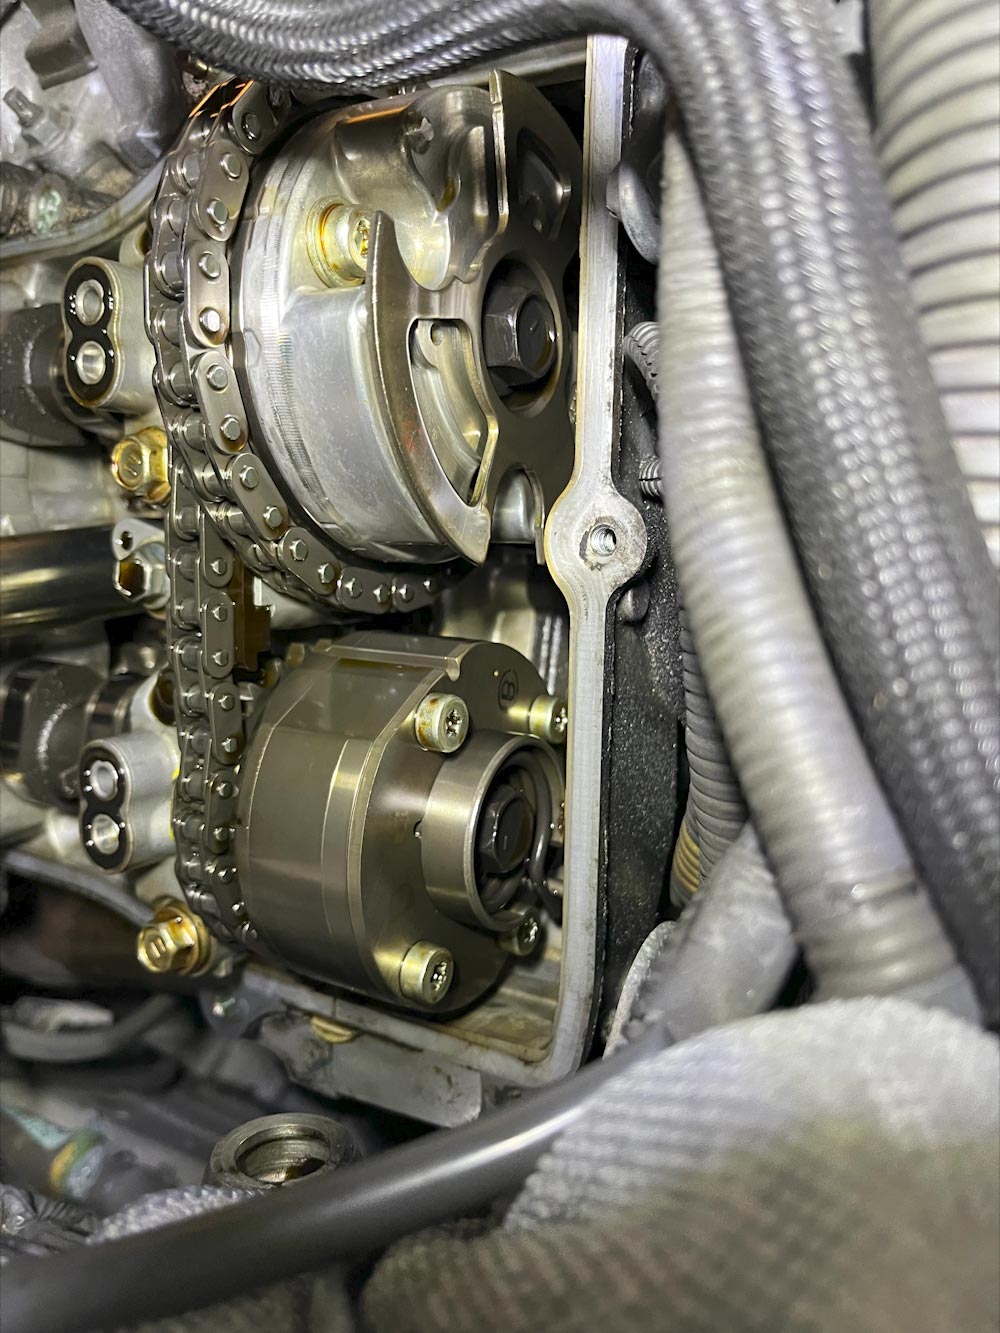
- High pressure fuel pump (with oil on contact surface) was reinstalled.
- Crankshaft needed to be turned slightly to allow fitment of the bottom of the fuel pump.
- Design of this section allows the HPFP to be activated by the cam but only fits in the engine at the lowest position.
- Fuel lines reconnected to fuel pump.
- Wire harness mounts remounted and all cables connected for coils, sensors, fuel pump, ect.
- Intake manifold reinstalled
- Issue encountered where the final bolt on the back of the intake was very slightly misaligned with a bracket that connects the head to the intake.
- I decided to leave this because it was accessible at a later point and I opted not to further torque intake manifold Allen bolts out of fear that they would start stripping.
- Throttle body lightly cleaned and reinstalled, cold start injector reconnected, air box reinstalled, cold air intake bolts reinstalled, battery reinstalled.
- At this point I have everything reconnected enough to start the car.
- No issues upon startup. I expected the car to struggle to startup but It started up right away.
- As a result of using PB blaster on the exhaust manifold o2 sensor, lots of smoke was coming out of the engine bay which was alarming at first.
- I backed the car out of the garage and called it a day.
Day 15
The car was intermittently ran to clear out all the smoke from the engine which ended up dissipating within 10 minutes.
Connected my OBD reader to the car resulted in 3 codes, 2 ABS codes and 1 air bag code. No engine codes!
Later I checked and had one misfire cylinder 1 code but at this point I cleared all codes. No check engine light came up at any point and the car seemed happy.
Driving about 30 miles on and off the highway for around an hour and no new codes arose.
I am considering the engine work completed.
Remaining loose ends include the following.
- Metal plate and plastic plate on undercarriage are not fully bolted in.
- Battery bracket needs to be reinstalled. This was a major pain to do last time and I might pass on it this time around and just carry a 10mm with me. The bracket is held up by a plastic hook under the battery tray that needs to meticulously be fished for before putting in the battery. The hook needs to be held in while the battery is being put in the car and cannot be knocked out of the hole by the battery during installation or the battery needs to come out again.
- Cold air intake needs correct bolts. I think the ones I reinstalled were not the intended ones for that purpose due to the two used being mismatched.
Conclusion
This leg of the project was the most critical and technical task to complete and I felt it.
Scope
Remove and replace faulty oxygen sensor
Spark plugs due to mileage
Valve cover gaskets due to leaks
4x2 additional small valve cover seals due to proximity and time
Clean valve cover and surrounding engine from spilled oil
Spark plug seals due to proximity
Clean throttle body
Clean intake very briefly
Replace intake Allen bolts
Replace PCV valve
Replace intake seals
This would be considered "Full top engine service"
Time
The car was out of commission for around a month. Before I started, I made an attempt to get all the parts and tools I needed to complete the job. As the job progressed, there was a few times where I was stuck idle waiting on parts. Compared to having a mechanic do the job, they would have had the car for a week max compared to my four weeks to complete the job. Time comparison was 4x - 15x longer than the mechanic alternative and most of the delays were avoidable and caused by my inexperience. Thankfully there wasn't much opportunity cost at the time to not have my car.
Materials
Most of the materials I used were OEM from Lexus dealership and replaced some bolts that probably wouldn't have been done at the mechanic. No comments.
Cost
Obviously the time that I invested in labor and opportunity cost of not having my car is far greater than the cost that I would have invested in using a mechanic. On a pure monetary perspective, I saved money on investing my own labor instead of paying a mechanic to complete the job. This would have been at least a 4-8 labor hour job at 125$ an hour resulting in 500-1000 cost for labor. Materials would have been slightly higher around 300 due to mechanic not putting as much effort into saving money on sourcing as myself. The breakdown of my costs for materials and tools are here: Costs. The total cost for a mechanic to complete the engine work, I would estimate to be 1000-1500. Money was saved in mechanic labor, the tradeoff was much more of my own labor and time.
Intangibles
Doing this engine work opened my eyes to what I am now labeling as the intangibles that come with completing a complex task. Car engine work, construction project, building a computer. The intangibles are why the professionals get paid what they get paid and why laymen don't venture into these realms. Encountering roadblocks repeatedly that will cost time and money and learning from them is something that I will always have moving forward that I did not have starting this project. If I was a mechanic this would be invaluable but since I only own one car, I will take this as a lesson on the dynamics of life. There were times when I was ready to stop and tow the car to the mechanic because stripping the same thread twice in a row is mentally pressing. Understanding the mechanics of why the thread was stripping and talking myself through those scenarios is the type of mentality that will get me through similar scenarios when doing any other venture in life. Being open to updating my priors and coming to the solution by a way of critically exploring possibilities, assumptions, and conditions; thinking "oh, I didn't know that could work like that".